20.4.2026I knew I had it. This is a dump of matthias’ webl back from August 2010. It is the most recent data set available:
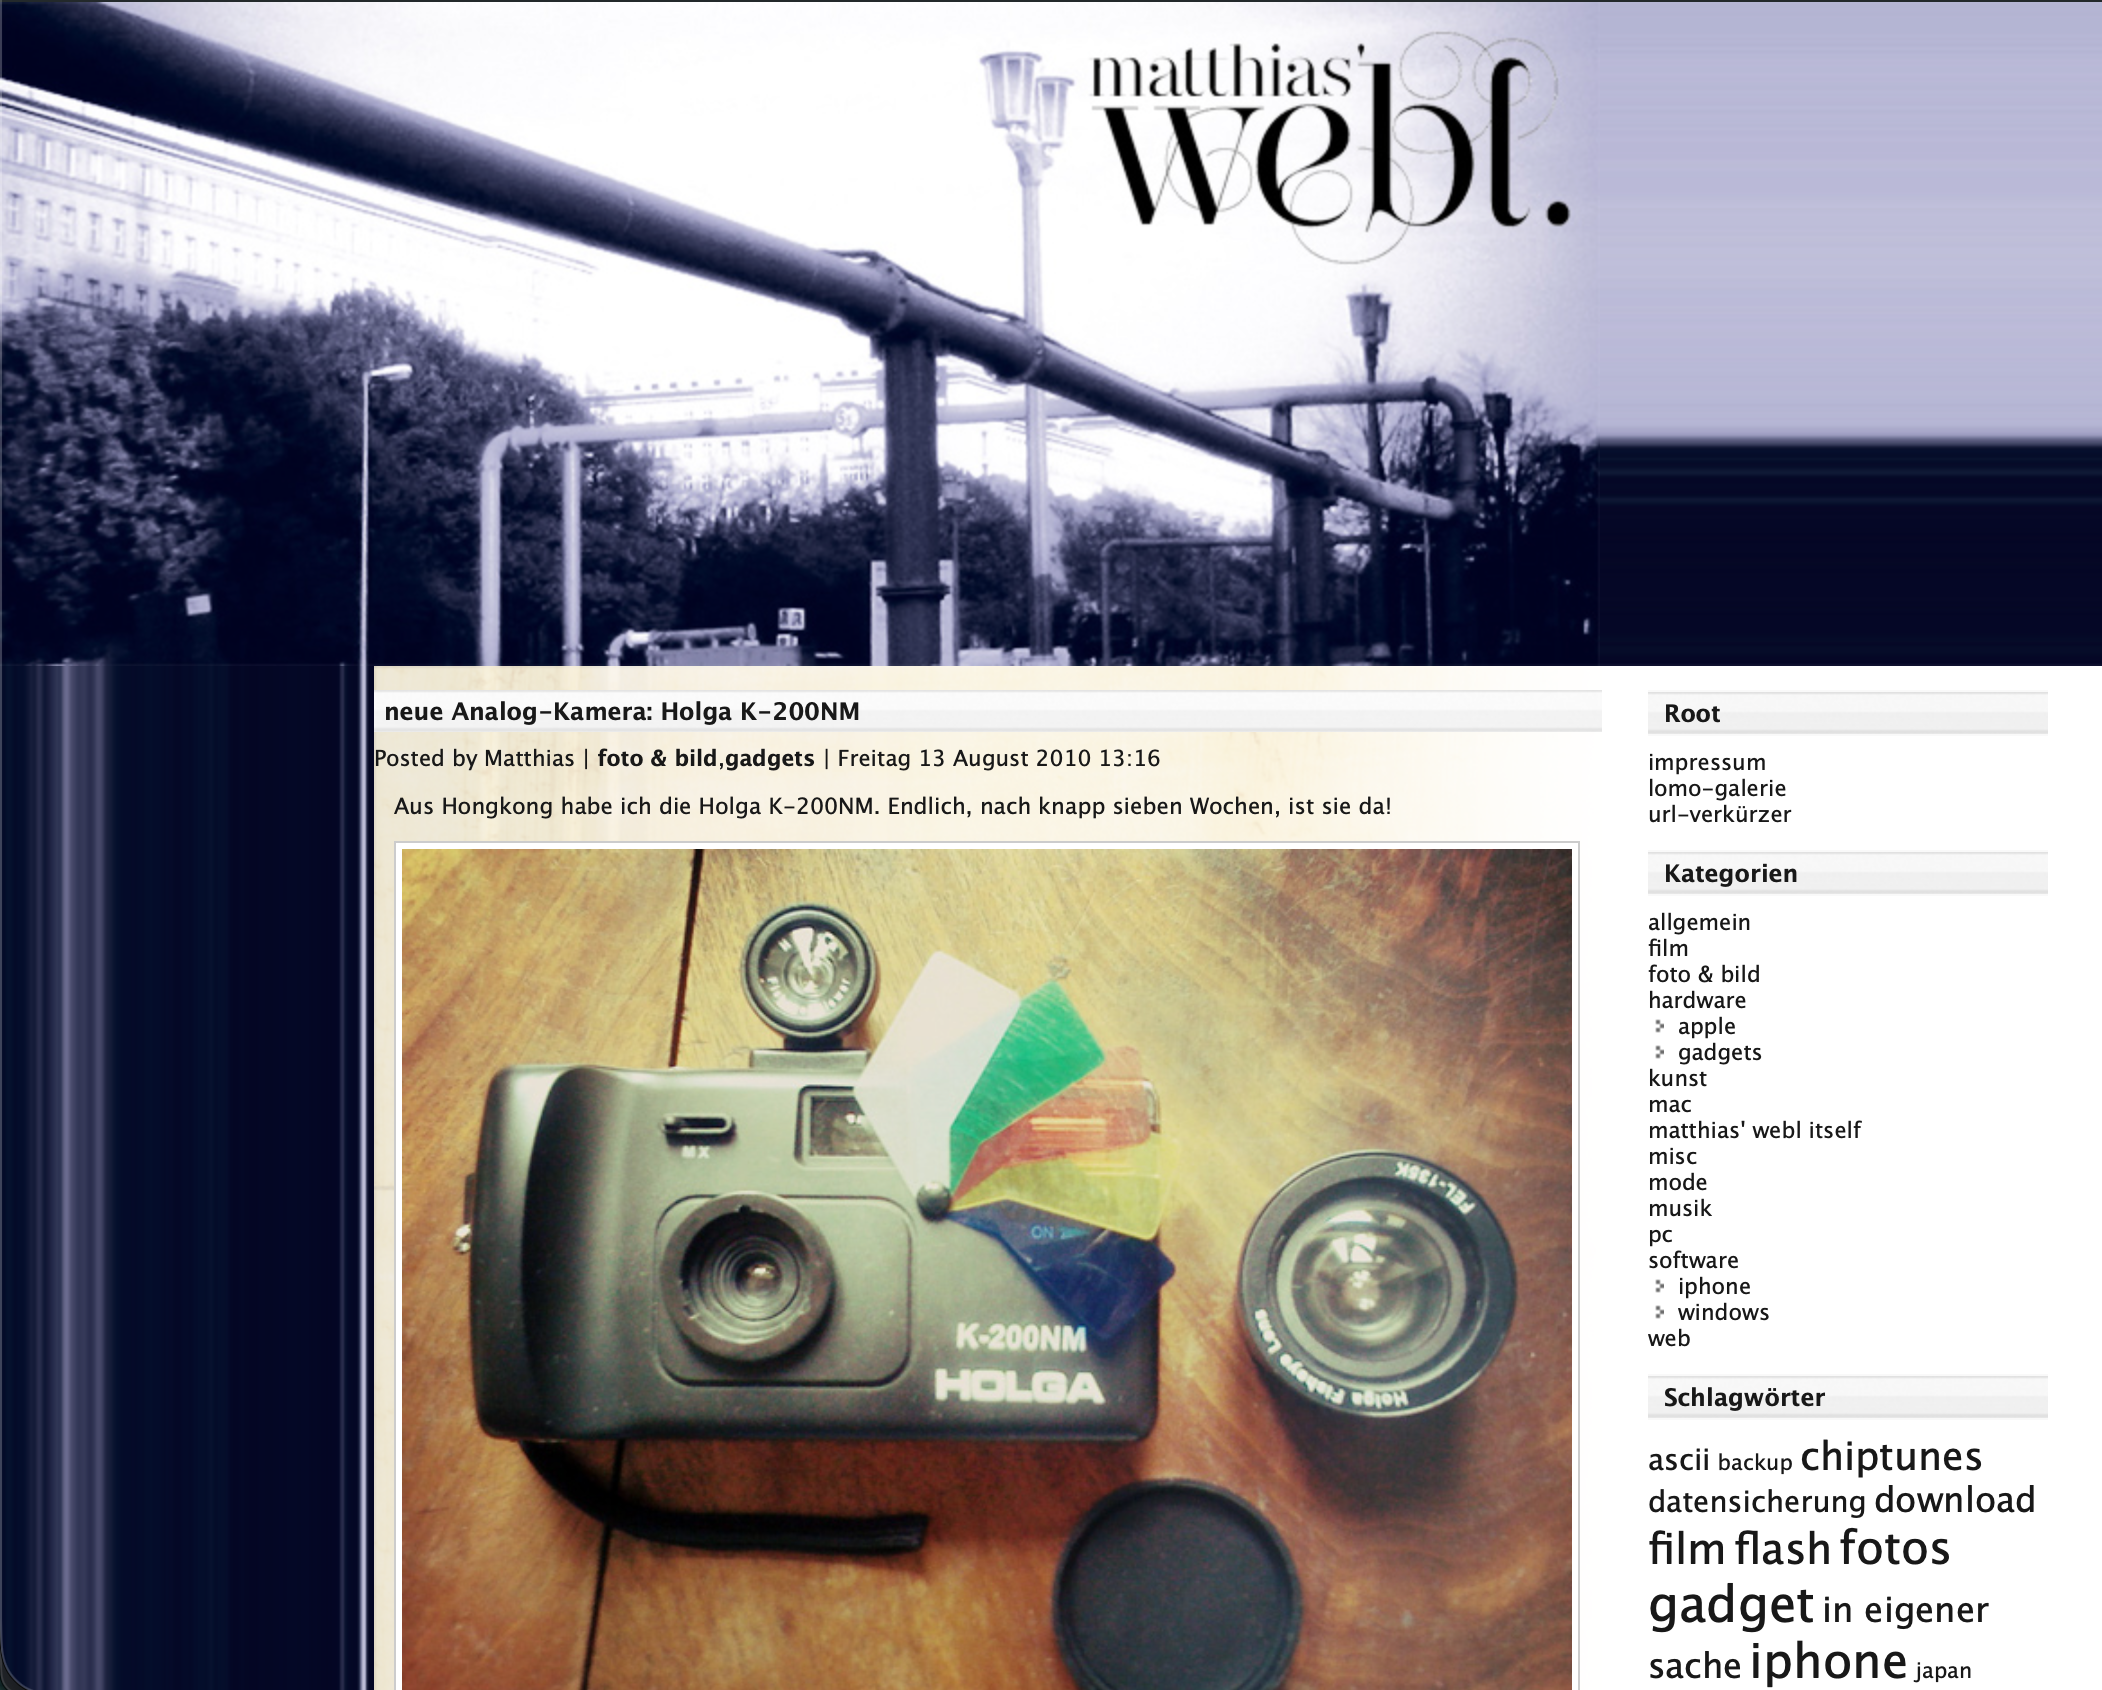
live snapshot: mdcp.de/blog (2010)
This took all day to reenact. 16 years old undocumented WordPress 3.0 hacks and unorthodoxed CSS,
held together with lots of luck. It is part of the series
My Modern Personal Webpage Anthology. Can you find the easter egg? :-)
18.4.2026I trained as a digital printer in Berlin back in 2005. Prepress, color management, the whole thing. Good prints, good vibes.
The Goal
Get the best possible black-and-white photo quality out of a monochrome laser printer using standard office paper and generic toner.
The Source
The photographs come from
jasmund.org, my ongoing project analog photography project. Everything is
shot on 35mm film and scanned. With 16-bit grayscale TIFFs, depth carries a lot of tonal information, which makes it both a great starting point and a bit of a challenge when the output device is binary, just black dots on white paper.
The Printer
The
Brother MFC-7360N is a mono laser MFP released in 2010. It prints, scans, copies and faxes and is 16 years old as the time of writing. I picked mine up barely used on Kleinanzeigen in 2020 for € 20.– and I’ve been running it on generic toner (around € 12.– a cartridge, lasts for thousands of pages) since day one. It just keeps going, this is why Brother Lasers are my favourite.
The whole CUPS AirPrint setup is covered in this post from 2020:
AirPrint setup for a Brother MFC-7360N.
The Hardware Resolution
The MFC-7360N prints at up to 2400x600 dpi, that is asymmetric by design: 2400 dots in the horizontal direction from the laser, 600 dots per inch (2.54 cm) vertically from the stepper motor. The native dot shape is roughly four times wider than it is tall. Tiny straight hairlines ☰≡三 parallel to the long paper edge. A full A4 page at this resolution is 19840×7016 pixels.
Brother’s own halftoning engine (BRHalfTonePattern=Brother4) is tuned for this geometry. It handles midtones well and is a reasonable standard setting. But there is so much more you can get out of the hardware with a bit of pristine prepress preprocessing :-) what.
Dot Gain
Laser toner spreads slightly further than desired during the fusing process. On regular office paper this is particularly noticeable: midtones shift towards shadows, prints come out too dark and lose shadow detail. This dot gain effect increases the smaller the print dots are.
Dealing with dot gain in the image preprocessing — before the file ever reaches the printer driver — is most of what the following script is doing.
The ImageMagick Pipeline
After a plethora of test prints across different approaches, this is what I like best:
show script
27 lines
magick "$file" \
  -colorspace Gray \
  -depth 16 \
  -auto-orient \
  -compress None \
  -rotate "%[fx:w>h?90:0]" \
  -resize 4961x7016^ \
  -gravity Center \
  -extent 4961x7016 \
  -gamma 1.65 \
  -level 10%,95% \
  -sigmoidal-contrast 3x55% \
  -resize 19840x7016! \
  -unsharp 0x1.0+0.45+0.02 \
  -density 2400x600 -units PixelsPerInch \
  pdf:- | \
lp -d Brother_MFC_7360N \
  -o media=A4 \
  -o BRResolution=2400x600dpi \
  -o BRMediaType=Thick \
  -o BRInputSlot=Tray1 \
  -o print-quality=5 \
  -o BRHalfTonePattern=Brother4 \
  -o BRImproveOutput=BRFixIntensity \
  -o BRReduceGhost=ON \
  -o TonerSaveMode=OFF \
  -o fit-to-page=false
Here is what each step does:
-colorspace Gray -depth 16 — convert to grayscale immediately and stay in 16-bit. Rounding errors in 8-bit would be visible in smooth gradients.
-auto-orient — respects the EXIF rotation tag.
-rotate "%[fx:w>h?90:0]" — if the image is landscape, rotate it 90° so it fills an A4 sheet in portrait orientation. My goal is always maximum paper coverage, filling from the centre of the image.
-resize 4961x7016^ -gravity Center -extent 4961x7016 — scale to fill A4 at 600 dpi (the vertical resolution) without distortion, then crop to exact page dimensions from the centre. The ^ flag means fill, not fit so there’s no empty space beside the print borders.
-gamma 1.65 — raises midtones to compensate for dot gain. Without this, toner spread pulls printed midtones noticeably into shadows. 1.65 is where it landed after a lot of comparison prints on 80g office paper.
-level 10%,95% — this clips the deepest shadows and the brightest highlights because the darkest tones will block up on this printer. Remapping them to a slightly lighter input value recovers some separation. The highlight clip keeps areas that should be white for subjective presence of the printed photo.
-sigmoidal-contrast 3x55% — this is advanced, an S-curve centred at 55% brightness with a strength of 3. This adds presence and micro-contrast to midtones (without clipping). It makes a real difference to how photographs feel on paper and makes the difference between flat and present.
-resize 19840x7016! — stretches the image 4x horizontally to match the native 2400×600 pixel buffer. The ! forces the exact target dimensions without preserving aspect ratio, as the image is already sized for 600 dpi vertically and it now needs to reach 2400 dpi horizontally. The printer receives a square-pixel image at the right density for the physical disproportional output.
-unsharp 0x1.0+0.45+0.02 — a gentle unsharp mask applied after the 4x horizontal stretch. The stretch introduces slight softness. This brings back edge definition.
-density 2400x600 -units PixelsPerInch — embeds the resolution metadata in the PDF stream so the driver knows not to resample.
On the lp side: BRHalfTonePattern=Brother4 is Brother’s own clustered-dot screen, which at this resolution produces stable halftone cells with good tonal coverage. BRReduceGhost=ON runs a drum cleaning sequence. TonerSaveMode=OFF is for full toner density.
The Script
The full script processes a directory of TIFFs in a loop. It rotates and fills the page for each image, and queues them to the printer with a two-second pause between jobs so the printer’s 32MB memory buffer does not conk out. mad maxamom. save as mfprince-amen.sh.
show script
50 lines
#!/bin/zsh

DIR="${1:-.}"

if [ ! -d "$DIR" ]; then
  echo "Error: directory '$DIR' does not exist."
  exit 1
fi

echo "Searching for TIFF files in '$DIR'..."
count=0

for file in "$DIR"/*.[tT][iI][fF]*; do
  [ -e "$file" ] || continue
  filename=$(basename "$file")
  echo "Processing and printing: $filename"

  magick "$file" \
    -colorspace Gray \
    -depth 16 \
    -auto-orient \
    -compress None \
    -rotate "%[fx:w>h?90:0]" \
    -resize 4961x7016^ \
    -gravity Center \
    -extent 4961x7016 \
    -gamma 1.65 \
    -level 10%,95% \
    -sigmoidal-contrast 3x55% \
    -resize 19840x7016! \
    -unsharp 0x1.0+0.45+0.02 \
    -density 2400x600 -units PixelsPerInch \
    pdf:- | \
  lp -d Brother_MFC_7360N \
    -o media=A4 \
    -o BRResolution=2400x600dpi \
    -o BRMediaType=Thick \
    -o BRInputSlot=Tray1 \
    -o print-quality=5 \
    -o BRHalfTonePattern=Brother4 \
    -o BRImproveOutput=BRFixIntensity \
    -o BRReduceGhost=ON \
    -o TonerSaveMode=OFF \
    -o fit-to-page=false

  sleep 2
  ((count++))
done

echo "Done. $count print jobs queued."
Drop a folder of TIFFs in, give it time, watch the stack of prints materialise. The results hold shadow detail, render smooth gradients across the full tonal range, and reproduce fine texture — hairlines, clothing fabric, tree bark — well enough that I am genuinely happy with them.
Every print is unique, thanks to its individual imperfections. The worn drum unit causes slight ghosting, and I am happy to embrace that. The used corona wire and the printer fuser unit cause some nuances in grayscale tones and slight variations in brightness in parallel to the short edge and such, but their aesthetic appeal is something I welcome. It is so far from perfect yet so full of joy.
This machine is such a gift that keeps on givin'.
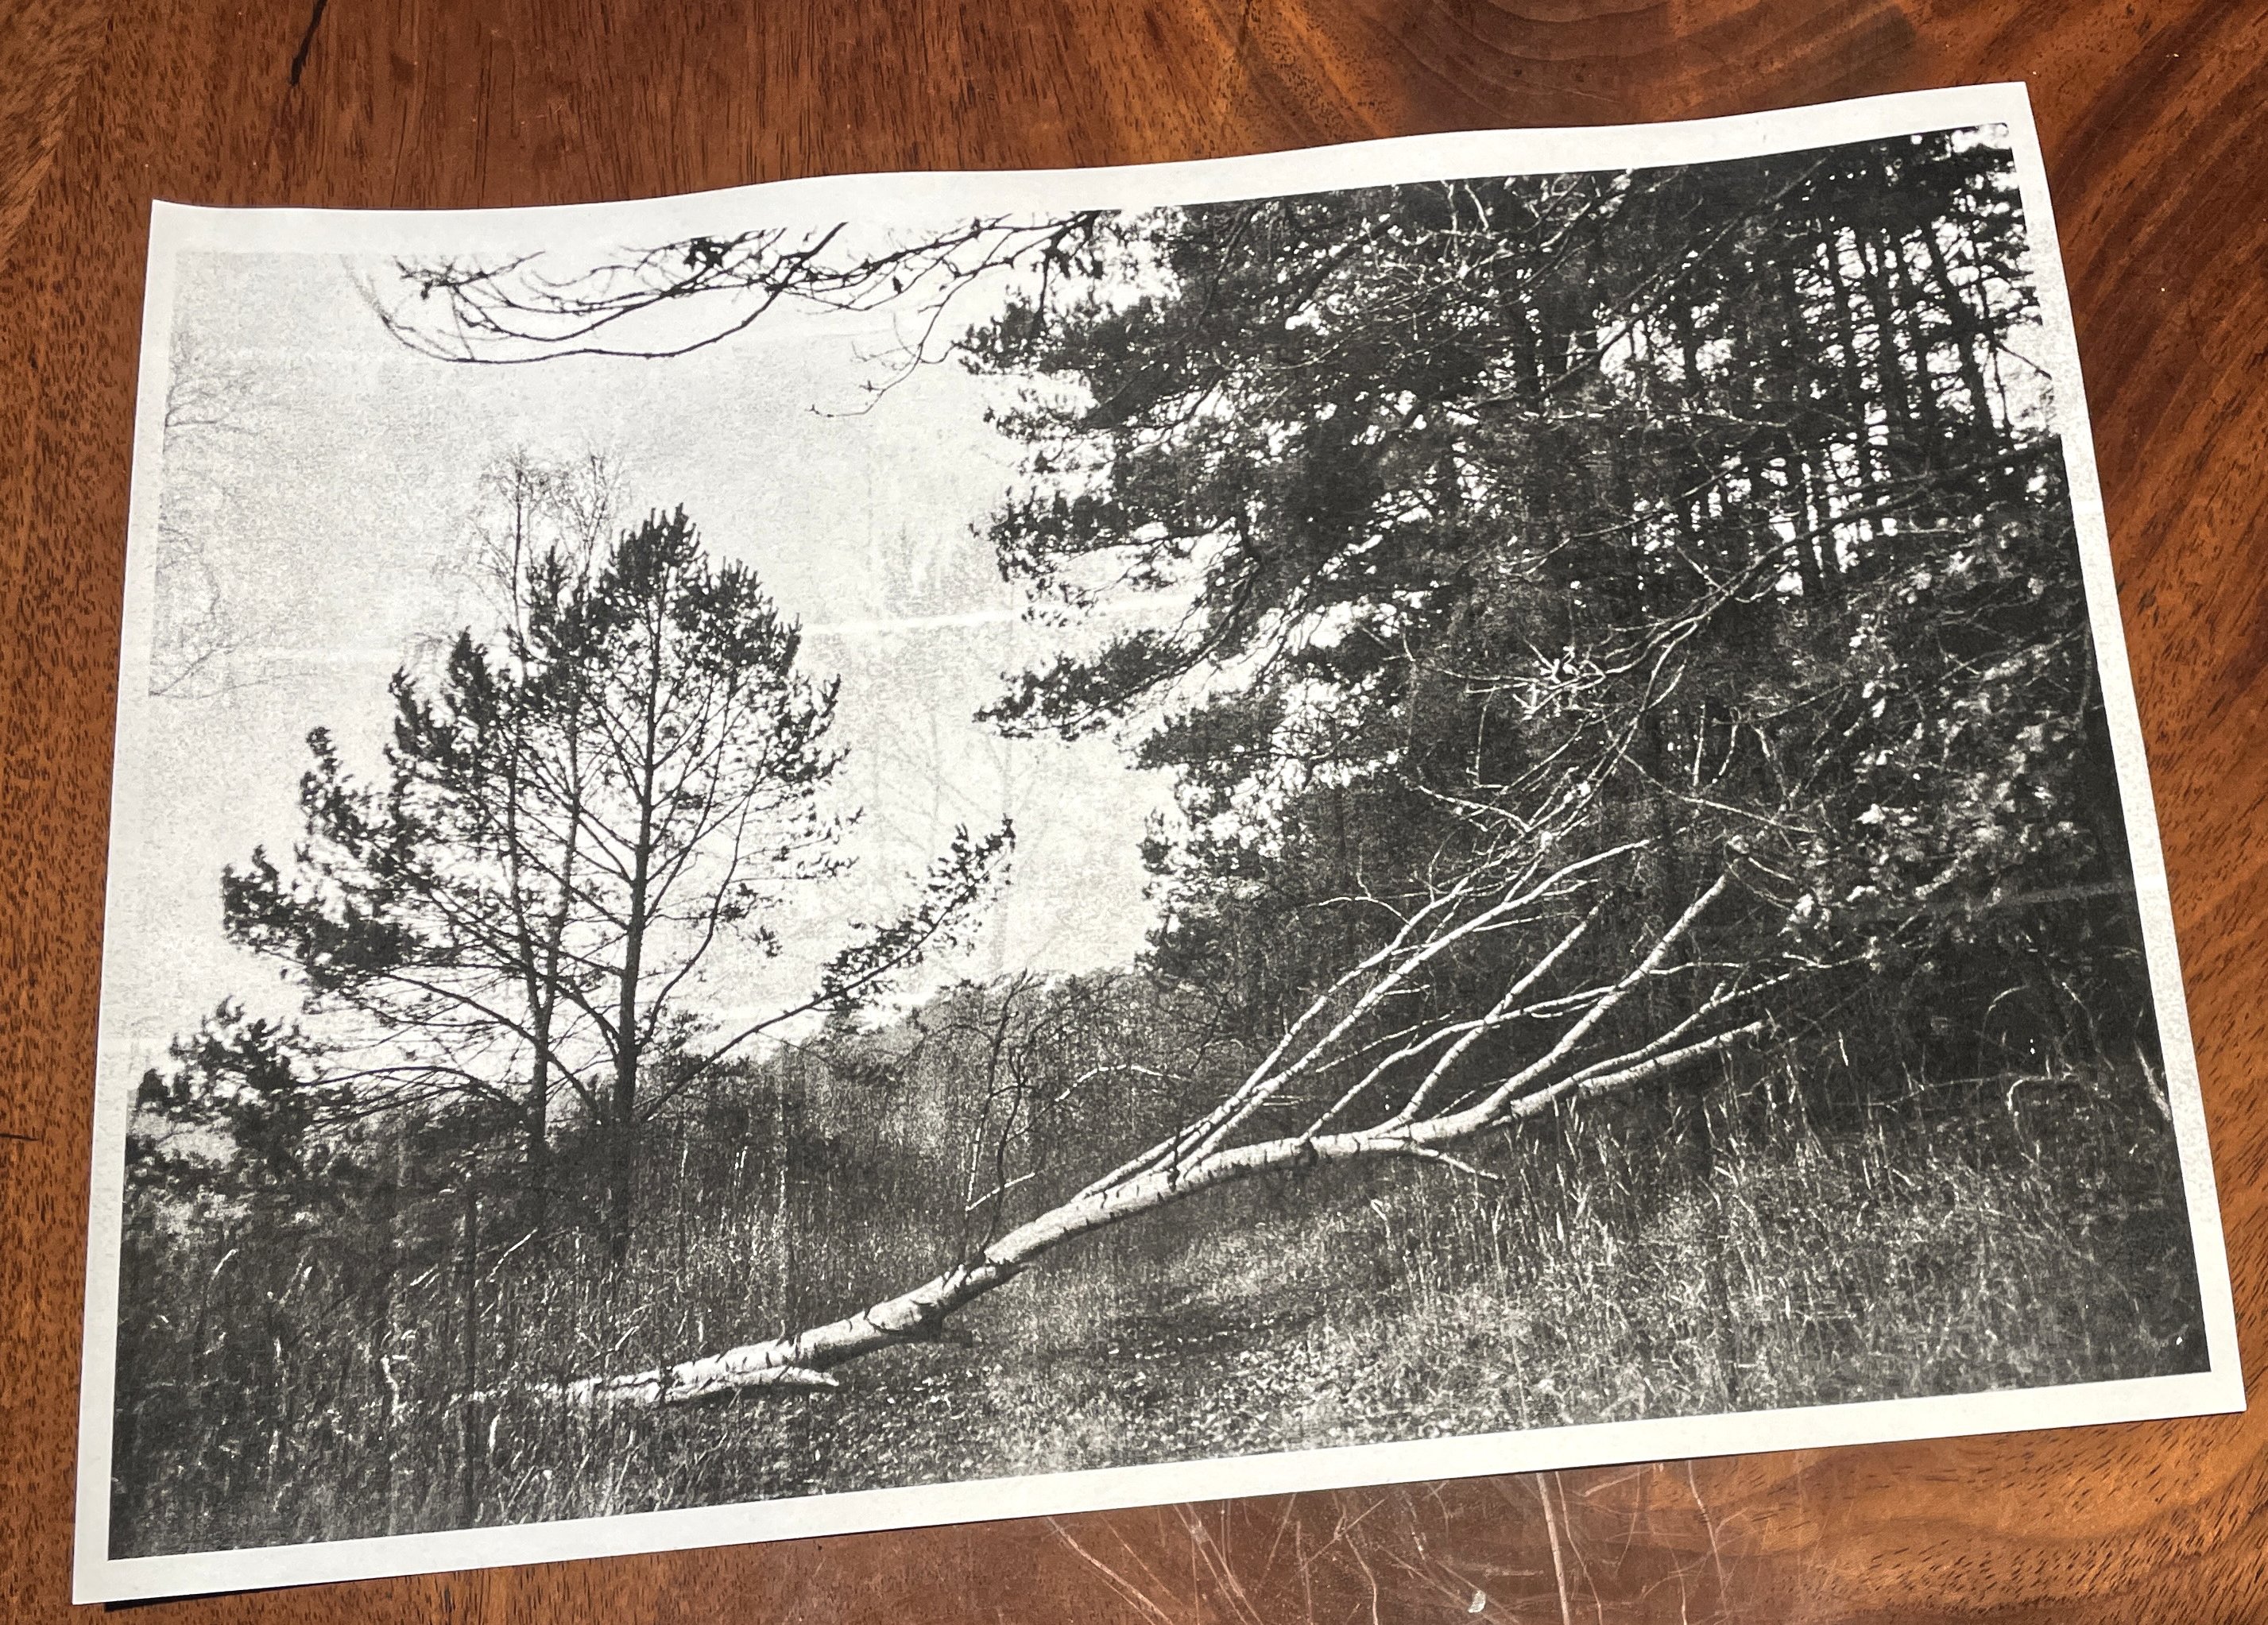 source:
westlich von Altglobsow on jasmund.org
source:
westlich von Altglobsow on jasmund.org
Moving on, let me now print all of my photos. Just to see how they come out.
14.4.2026
Let me interject for a second — and turn back the hands of time: I am a millennial born
in 1985. No go dey call me Gen Z. I got my first 286 PC in 1996, at age eleven. My
internet started with a 56k modem over analog landline — back when bandwidth was
precious and dial-up minutes cost real money. This shaped my data hoarding habits:
retaining backups of personal archives over decades and three system architectures,
including old websites. Under the handle madcap, I built early pages from scratch,
later on WordPress and MySpace. How glad I am with
Hugo these days.
Here are some authentic sparkling
emeralds in my mother tongue German. I thank myself for bearing with me.
2005: the HTML/CSS era
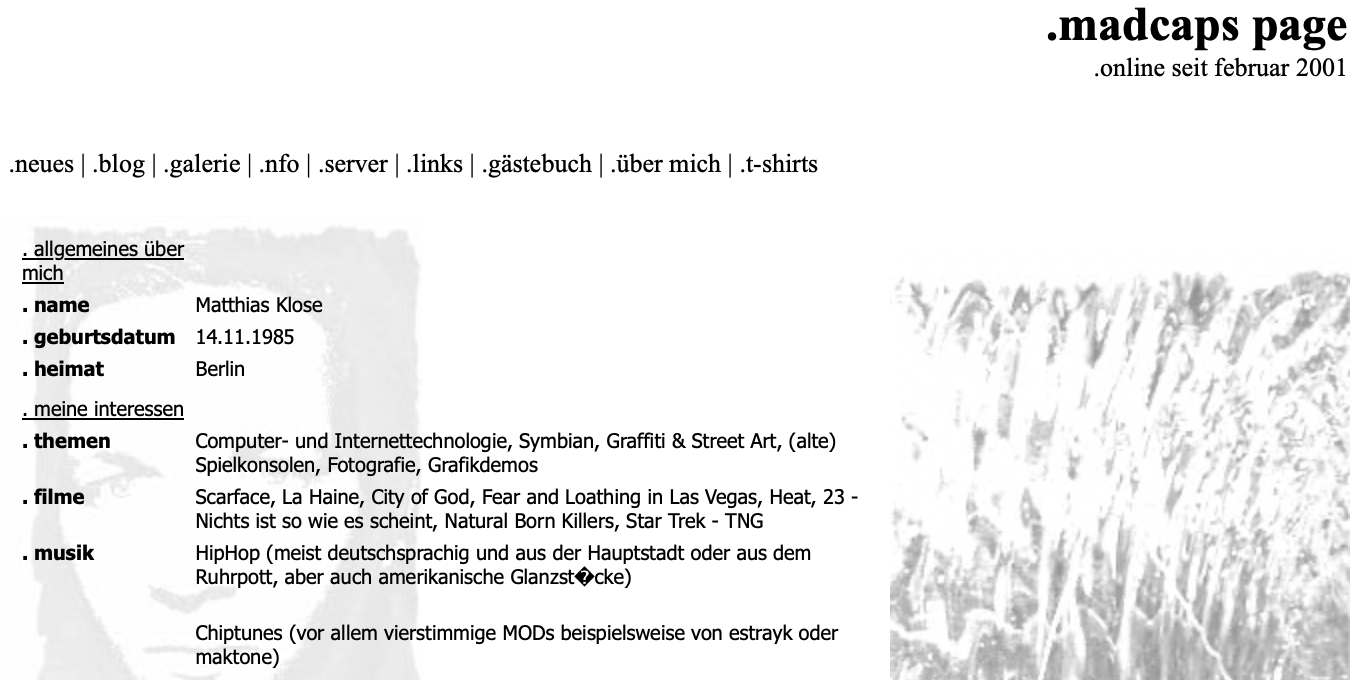
The oldest dataset is 21 years old at the time of writing. It originally lived under
madcaps-page.de and consists purely of HTML and CSS. Because of its simplicity, this
one was easy: I let
HTTrack walk over it to consolidate the
site structure. Afterwards I manually fixed 404’ing links and removed external content such as the obligatory externally hosted guestbook (and also a t-shirt shop ???) - ready to reinstantiate.
live snapshot: madcaps-page.de (2005)
2008 – 2010: the WordPress era
The second dataset is a 17-year-old wwwroot and MySQL dump of a WordPress blog that
resided under mdcp.de/blog. I spun up two local Docker instances providing Apache with
PHP 7.4 and MariaDB. The database import worked flawlessly.
I remember having a couple of WordPress security plugins installed back in the day, which
initially interfered with getting this ancient dump to render in the browser. After a
couple of hours of debugging, I simply disabled all the legacy plugins and replaced the
core files with their current successors — that is four major releases from 2.8.4 to
6.9.1. Impressively enough, it just worked.
Of course I did not plan to maintain this WordPress instance any further. To preserve a
static impression of the blog, I came across
monolith. Written in Rust, it creates non-recursive webpage snapshots by bundling all assets into a single .html file using base64 inline encoding. It’s wonderful. I just had to fix countless internal links by replacing most of the href attributes to point to #.
live snapshot: mdcp.de/blog (2009)
A couple of days in, I was able to restore a dump of matthias’ webl as of August 2010. That is the most current iteration. See the
addendum post.
live snapshot: mdcp.de/blog (2010)
2009: the MySpace era
A bonus dataset is a 17-year-old “File > Save as…” dump from Internet Explorer 7,
containing my former MySpace profile myspace.com/matthi4s. MySpace was the pioneering
browser social network with wild CSS hacks. I archived this one using monolith --isolate to prevent the archived version from calling any external JavaScript resources
or tracking pixels. Some manual HTML sanitation took place as well, and there it is.
live snapshot: myspace.com/matthi4s (2009)
2012: Tumblr, the One or Two that got Away
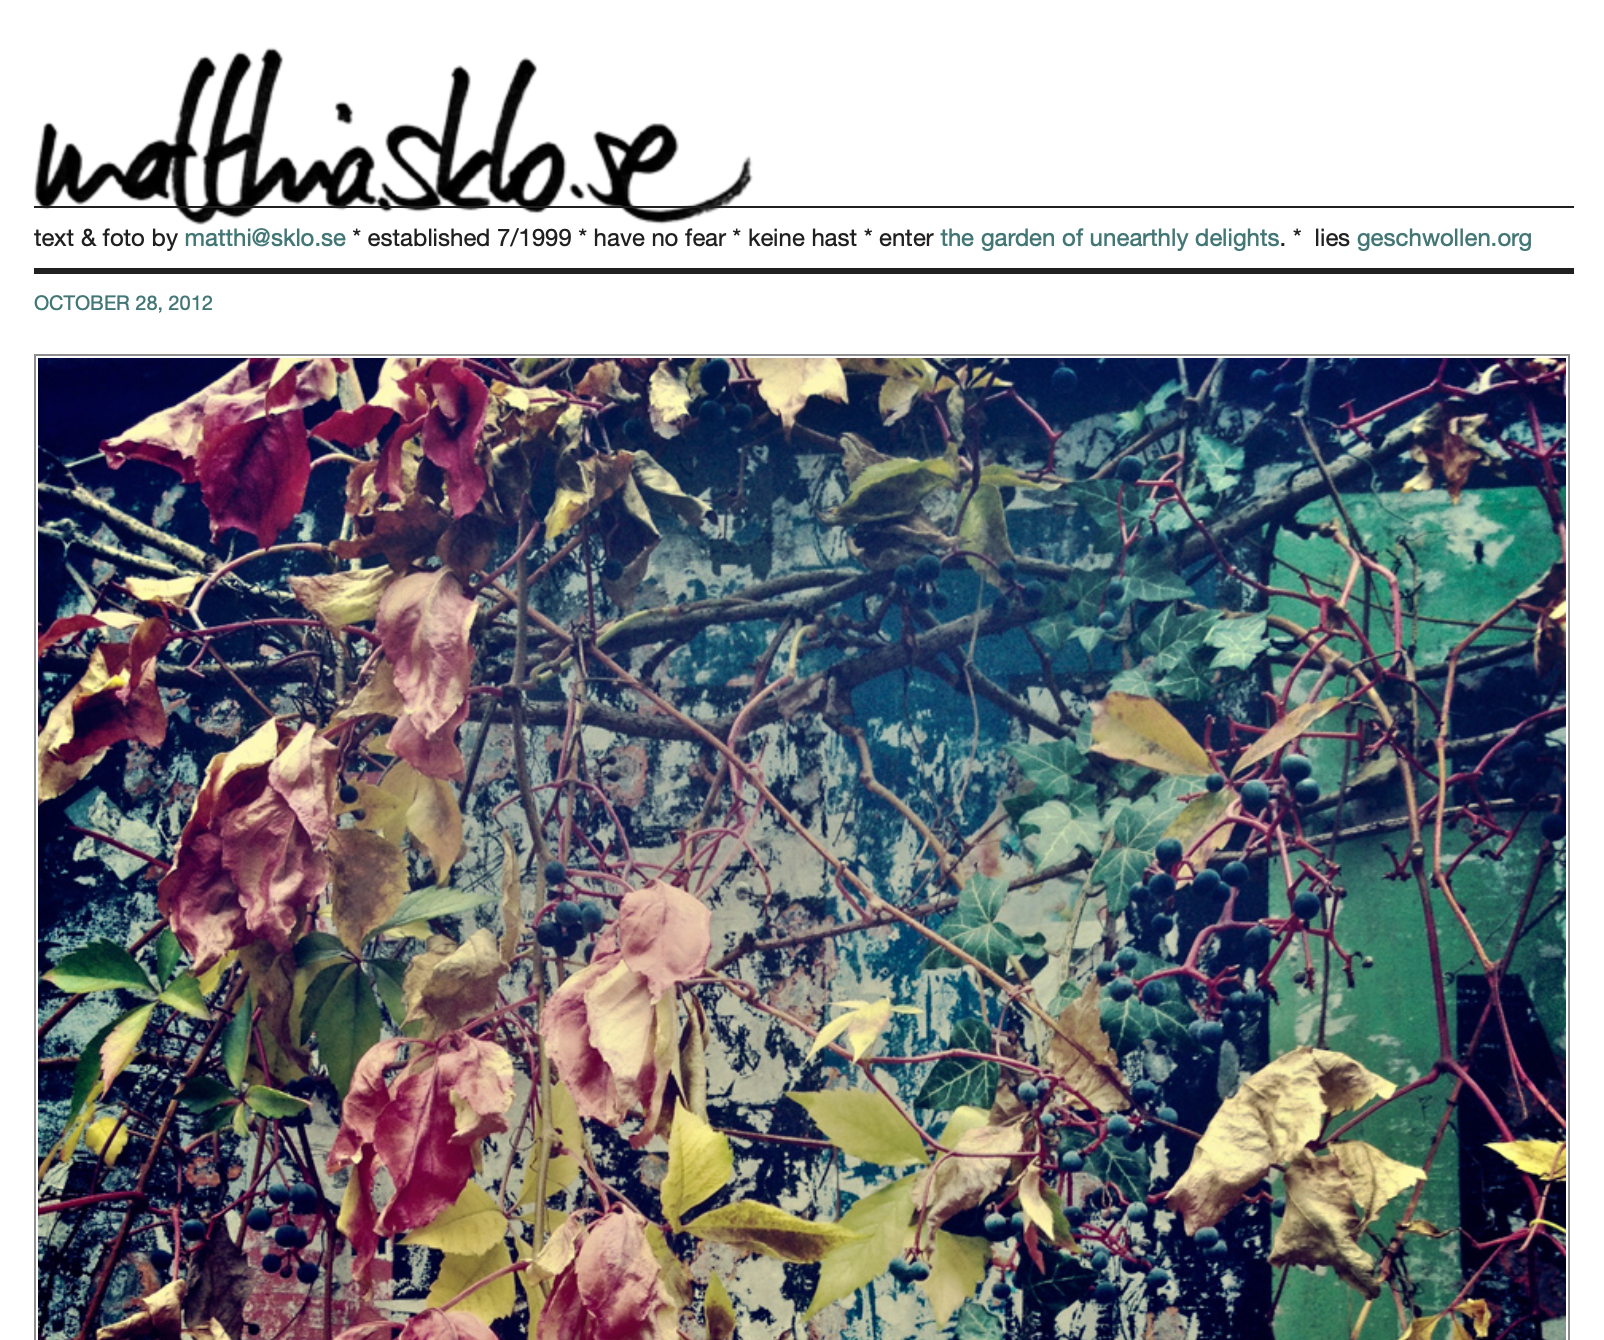
There also were matthia.sklo.se (photos) and geschwollen.org (poems). These were tumblr-based. I do not have backups. But at least I have reclaimed the sklo.se domain. The invaluable WayBack Machine passed
by a couple of times:
https://matthia.sklo.se on web.archive.org – What is your personal Voyager golden record? :-)
14.4.2026The tildeverse is a loosely associated network of free pubnix systems, text based servers to be creative on and do fun stuff with.
This page is hosted at
tilde.town, a pubnix by
~vilmibm and I just came across this opportunity to randomly explore it:
Explorational links are also always available from the imprint from now on.
latest tilde.town updates (thanks
~ags):
Loading...
13.4.2026With some time on my hands, I decided to reissue a piece of internet art called TIME.TAXI. It has been sitting on my ssd for the longest time, and its URL is squatted and stuff, but from now on, its sanctuary shall be tilde.town. sanctuary, god, I love this word. but please see for yourself:
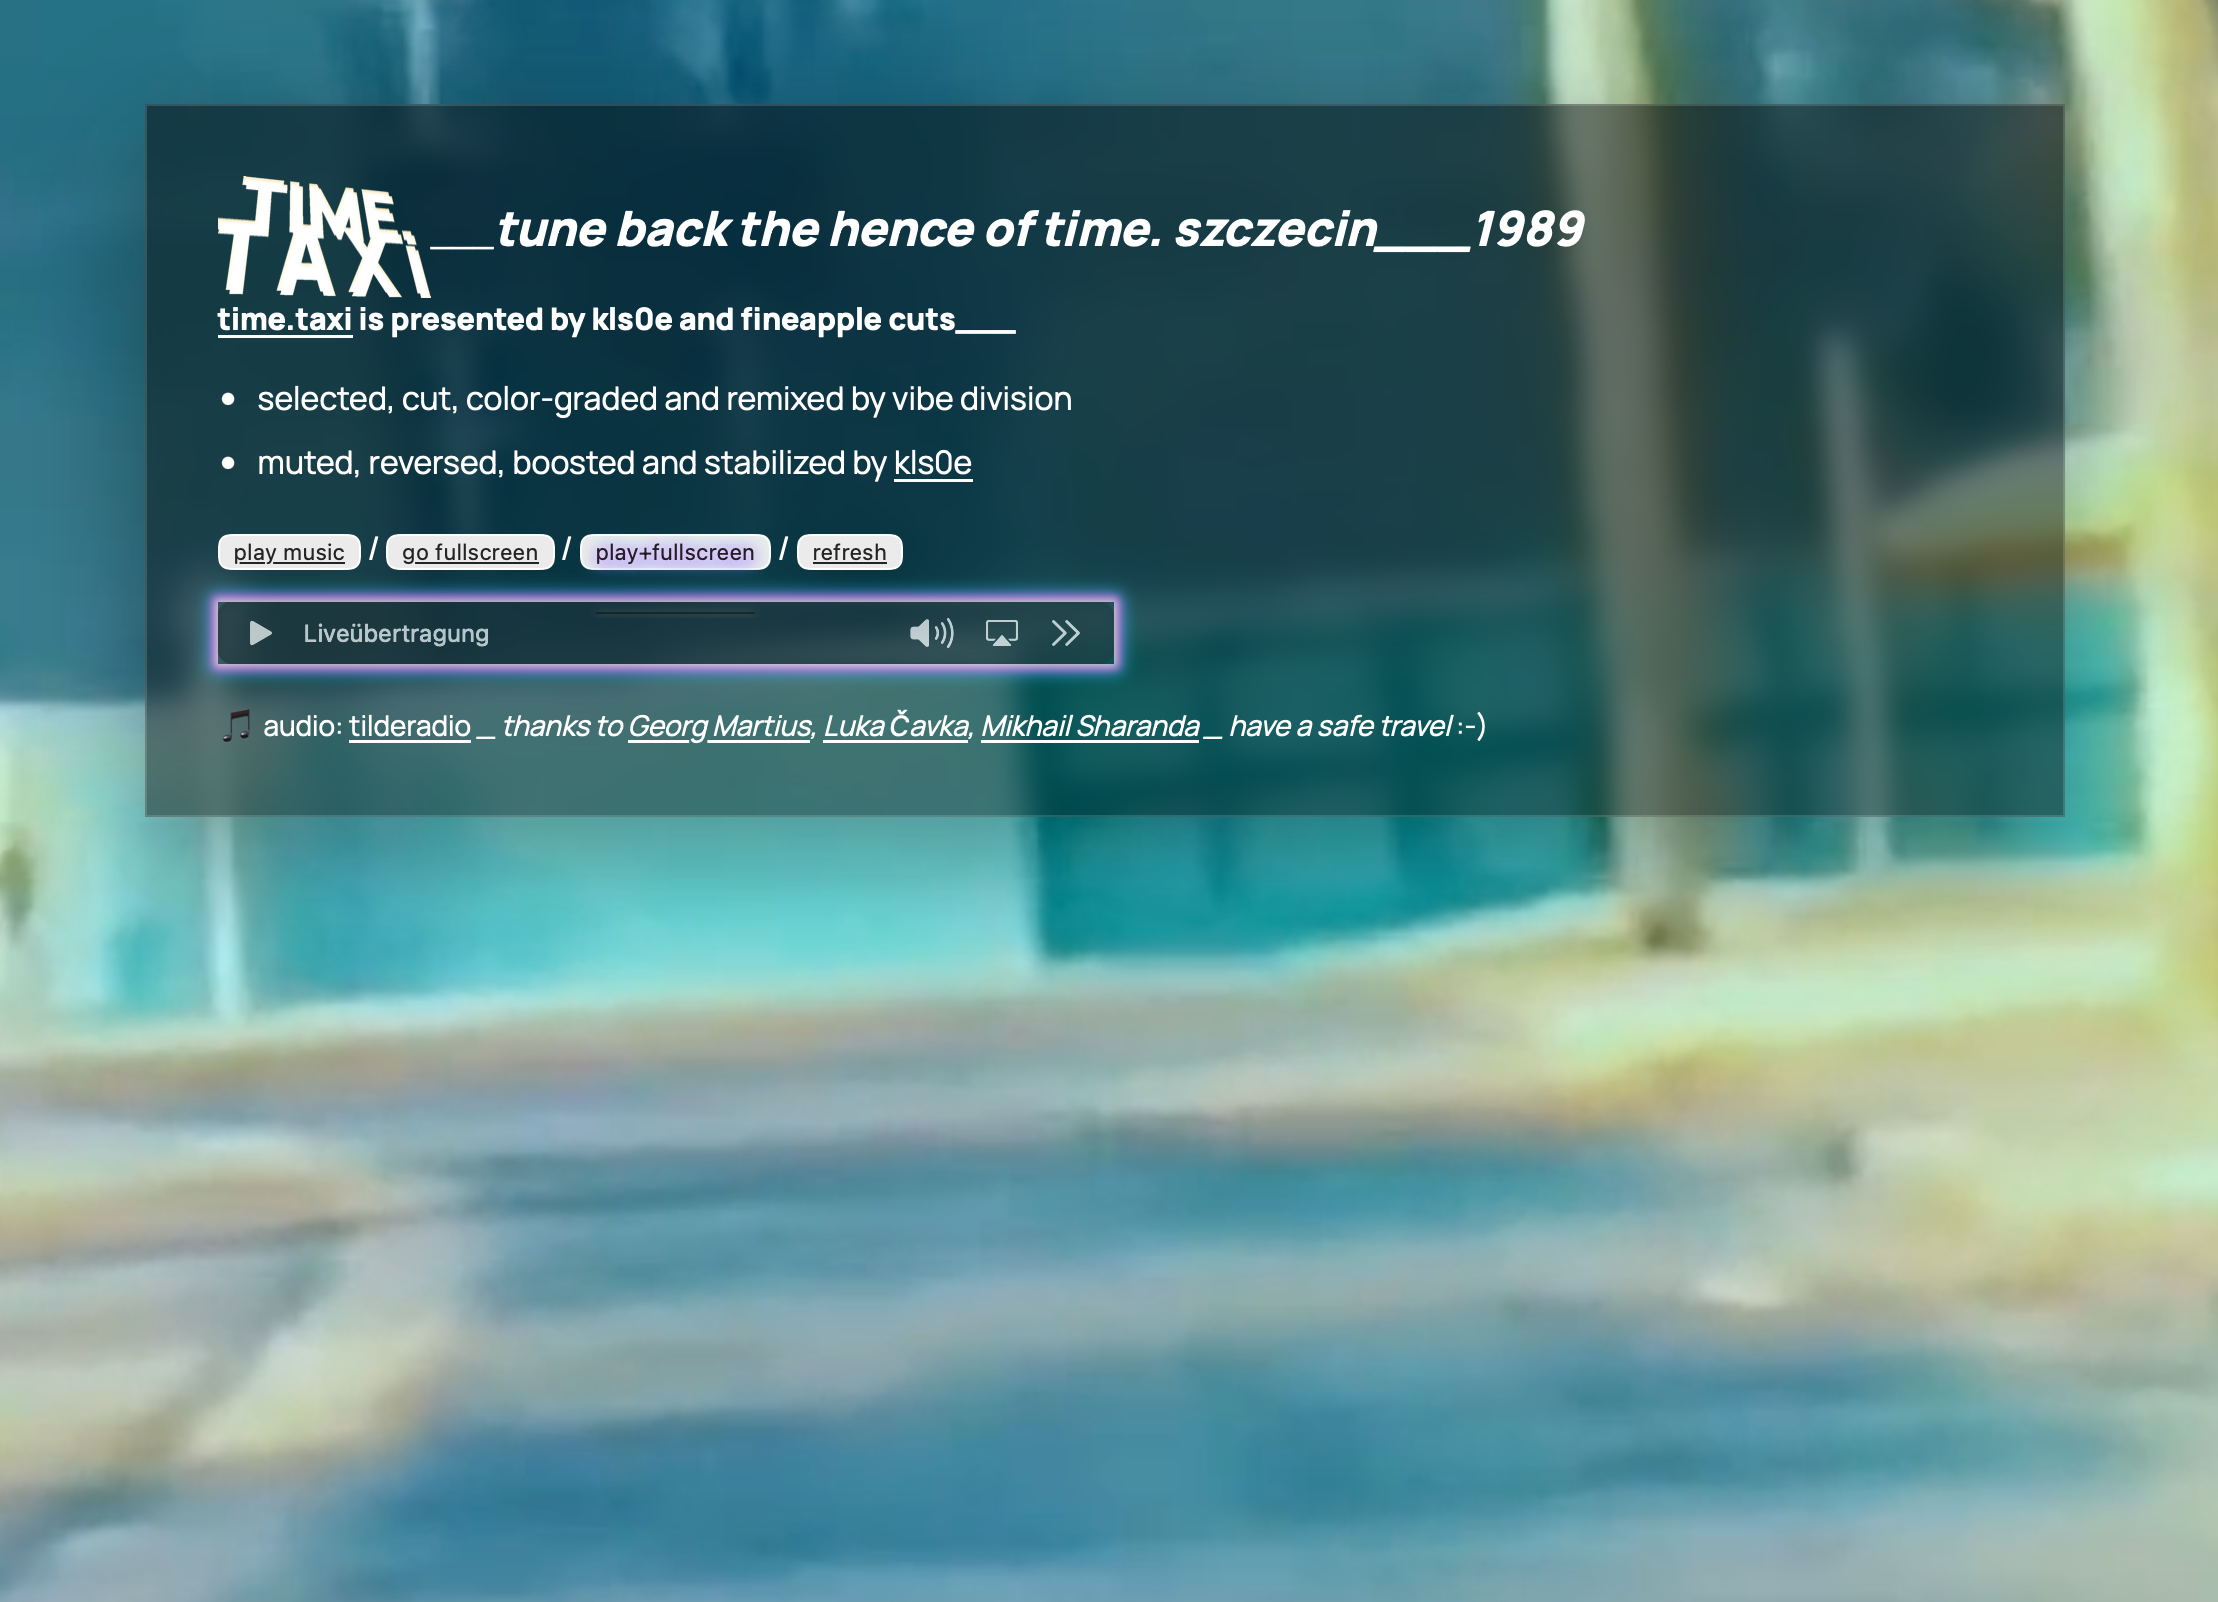
by the way, while running the terminal-based email client ‘mutt’ for the first time yesterday while ssh’d into tilde.town, I’ve learned a couple of interesting things about this tildeverse:
fwiw, it’s super liberal, friendly and interesting to read. I’m looking to release one of my photos from
jasmund.org in the coming issue.
I essentially listen to online radio every day, my favourite stations are mitunter
Radio Swiss Jazz,
NTS,
PerfectMoods,
Groove Salad and today I’m actively listening to tilderadio. So far, it’s a refreshing blend of vintage radio commercials, oldschool hip hop and wild punk. excellent. My macOS Receiver Radio app does have some buffering issues with it, so VLC is back at it.
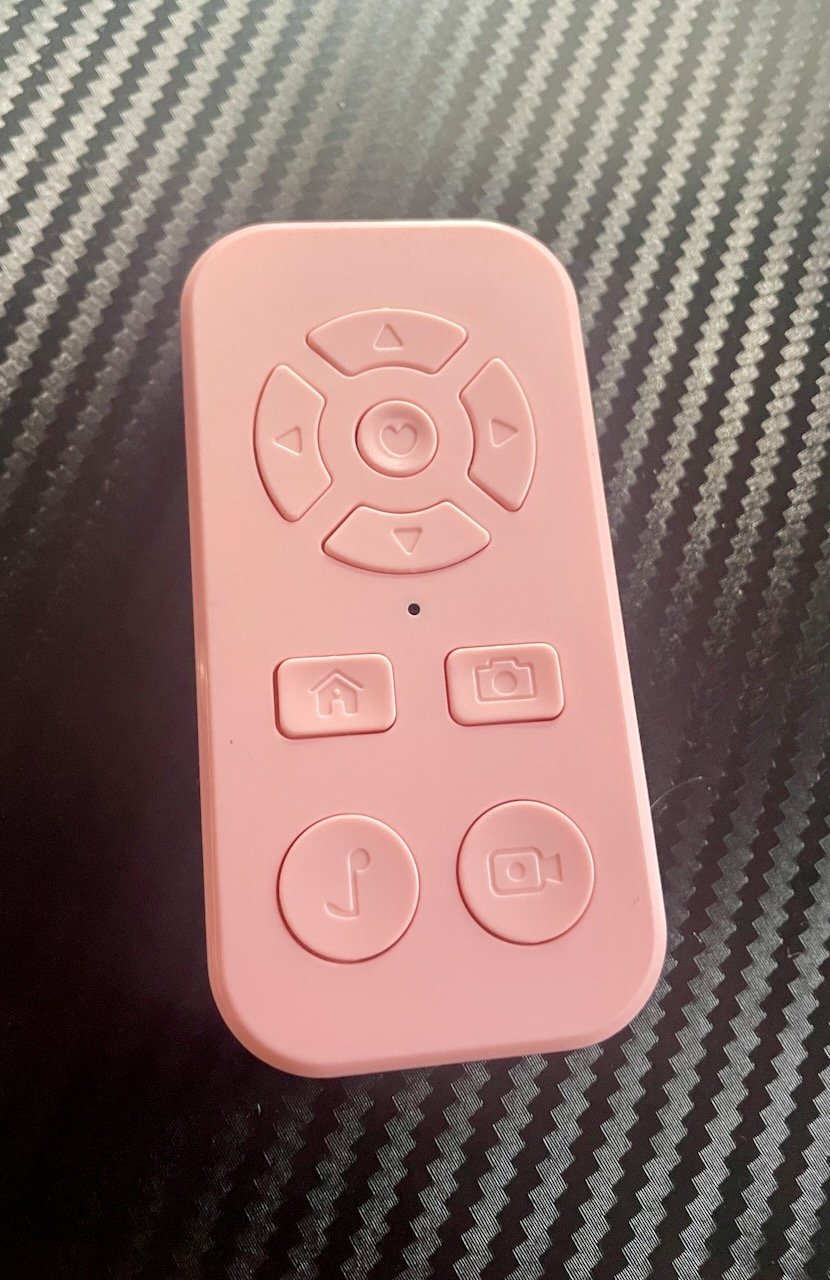
14.3.2026A friend is running Batocera as a media/emulation box and wanted to use a Beauty R1 Bluetooth remote with Kodi. The R1 is a hyper-affordable bluetooth media remote — and it emits mouse movement events instead of regular key presses, and Batocera's underlying buildroot Linux has no idea what to do with it out of the box. It pairs just fine using Bluetooth 4.2 tho. evtest does show some output on each button press. But nothing seems to happen in the EmulationStation or Kodi GUI.
The fix is a small Python daemon that grabs the R1's input device exclusively and translates its events into keyboard events Kodi understands.
Why it’s tricky
Running evtest on the device reveals something challenging: every directional press
arrives as three separate event groups before BTN_LEFT is even set:
REL_X=-2047, REL_Y=+2047  ← calibration spike (ignore!)
REL_X=+148,  REL_Y=-354   ← return-to-center offset
BTN_LEFT=1                 ← actual button down
REL_Y=+77 (×2)            ← real directional data
BTN_LEFT=0                 ← button up
all that REL data before the button press results in RIGHT + ENTER on every single keystroke. Took a while to figure out.
The other fun one: the Camcorder button sends the same BTN_LEFT sequence as the directional pad and center button — but its pre-BTN_LEFT offset is REL_Y ≈ -30 instead of ≈ -354. That tiny difference is the only way to tell them apart.
The solution
- Ignore all REL events with |value| ≥ 1000 — these
calibration spikes and should be discarded.
- Track
pre_y before BTN_LEFT=1 — if abs(pre_y) < 100, it’s the
Camcorder button → send KEY_ESC. Otherwise it’s probably a nav key or center. direction_sent flag — once a direction has been emitted, suppress
the ENTER that would follow on BTN_LEFT=0.
Key mapping
| Beauty R1 button | Sends | Kodi action |
|---|
| D-pad Up | KEY_UP | Navigate up |
| D-pad Down | KEY_DOWN | Navigate down |
| D-pad Left | KEY_LEFT | Navigate left / rewind |
| D-pad Right | KEY_RIGHT | Navigate right / forward |
| Center (OK) | KEY_ENTER | Select / Play-Pause |
| Home | KEY_VOLUMEDOWN | Volume down |
| Camera | KEY_VOLUMEUP | Volume up |
| Camcorder | KEY_ESC | Back / close menu |
Note: the Camera button sends KEY_VOLUMEDOWN — the script remaps it to KEY_VOLUMEUP. The Home button sends KEY_HOMEPAGE — remapped to KEY_VOLUMEDOWN because that’s the desired remote button layout of choice.
The script
Save to /userdata/system/beauty_r1_mapper.py:
show script
136 lines
#!/usr/bin/env python3
"""
Beauty R1 Bluetooth Remote → Kodi Keyboard Mapper
"""

import evdev
from evdev import InputDevice, UInput, ecodes
import sys

e = ecodes

DEVICE_NAMES = ["Beauty", "beauty", "R1", "r1"]
THRESHOLD = 50
SPIKE     = 1000

def find_beauty_r1():
    devices = [InputDevice(path) for path in evdev.list_devices()]
    for device in devices:
        for name in DEVICE_NAMES:
            if name in device.name:
                print(f"Found: {device.name} ({device.path})")
                return device
    print("Beauty R1 not found. Available devices:")
    for device in devices:
        print(f"  - {device.name} ({device.path})")
    return None

def main():
    r1_device = find_beauty_r1()
    if not r1_device:
        sys.exit(1)

    try:
        r1_device.grab()
    except IOError as err:
        print(f"Failed to grab device: {err}")
        sys.exit(1)

    capabilities = {
        e.EV_KEY: [
            e.KEY_UP, e.KEY_DOWN, e.KEY_LEFT, e.KEY_RIGHT,
            e.KEY_ENTER, e.KEY_ESC, e.KEY_VOLUMEUP, e.KEY_VOLUMEDOWN,
        ]
    }
    ui = UInput(capabilities, name="Beauty R1 Virtual Keyboard")
    print("Mapper running. Ctrl+C to quit.")

    button_pressed = False
    direction_sent = False
    is_camcorder   = False
    pre_y  = 0
    post_x = 0
    post_y = 0

    try:
        for event in r1_device.read_loop():

            if event.type == e.EV_REL:
                if abs(event.value) >= SPIKE:
                    continue
                if not button_pressed:
                    if event.code == e.REL_Y:
                        pre_y += event.value
                else:
                    if not direction_sent:
                        if event.code == e.REL_X:
                            post_x += event.value
                        elif event.code == e.REL_Y:
                            post_y += event.value

            elif event.type == e.EV_KEY:

                if event.code == e.BTN_LEFT:
                    if event.value == 1:
                        button_pressed = True
                        direction_sent = False
                        post_x = 0
                        post_y = 0
                        is_camcorder = abs(pre_y) < 100
                        pre_y = 0
                    elif event.value == 0:
                        if is_camcorder:
                            ui.write(e.EV_KEY, e.KEY_ESC, 1)
                            ui.write(e.EV_KEY, e.KEY_ESC, 0)
                            ui.syn()
                            print("→ ESC (Camcorder)")
                        elif not direction_sent:
                            ui.write(e.EV_KEY, e.KEY_ENTER, 1)
                            ui.write(e.EV_KEY, e.KEY_ENTER, 0)
                            ui.syn()
                            print("→ ENTER")
                        button_pressed = False
                        direction_sent = False
                        is_camcorder   = False
                        post_x = 0
                        post_y = 0

                elif event.code == e.KEY_HOMEPAGE:
                    if event.value == 1:
                        ui.write(e.EV_KEY, e.KEY_VOLUMEDOWN, 1)
                        ui.write(e.EV_KEY, e.KEY_VOLUMEDOWN, 0)
                        ui.syn()
                        print("→ VOLUME DOWN (Home)")

                elif event.code == e.KEY_VOLUMEDOWN:
                    if event.value == 1:
                        ui.write(e.EV_KEY, e.KEY_VOLUMEUP, 1)
                        ui.write(e.EV_KEY, e.KEY_VOLUMEUP, 0)
                        ui.syn()
                        print("→ VOLUME UP (Camera)")

            elif event.type == e.EV_SYN:
                if button_pressed and not direction_sent and not is_camcorder:
                    if abs(post_x) >= THRESHOLD or abs(post_y) >= THRESHOLD:
                        if abs(post_y) >= abs(post_x):
                            key, name = (e.KEY_UP, "UP") if post_y > 0 \
                                   else (e.KEY_DOWN, "DOWN")
                        else:
                            key, name = (e.KEY_LEFT, "LEFT") if post_x > 0 \
                                   else (e.KEY_RIGHT, "RIGHT")
                        ui.write(e.EV_KEY, key, 1)
                        ui.write(e.EV_KEY, key, 0)
                        ui.syn()
                        print(f"→ {name}")
                        direction_sent = True
                        post_x = 0
                        post_y = 0

    except KeyboardInterrupt:
        print("\nStopped.")
    finally:
        r1_device.ungrab()
        ui.close()

if __name__ == "__main__":
    main()
make it executable: chmod +x /userdata/system/beauty_r1_mapper.py
test with python3 /userdata/system/beauty_r1_mapper.py
Using it on Android
If you aren’t running Linux/Batocera but rather an Android device and want to fix the Beauty R1 remote’s mapping, check out Luca’s work on GitHub:
beauty-r1-android-interceptor by olivluca
Luca came up with logic to intercept and translate the remote’s events on Android and wrote a C program to do so.
2.4.2023A friend I have met via Freifunk Berlin sold me his
Thinkpad T430. It is a great, robust and versatile machine and I use it almost daily with a posix-compatible OS. The colors of its TN panel are a bit bold on the blue side. There are devices to measure screen colors and there is software to correct and balance them. This process is called
monitor calibration and usually results in an .icc file containing the custom color corrections. The GPU will essentially translate its color output according to the values read from the ICC profile, be it a standard or a custom output profile. A custom ICC profile can be applied to a graphical output device on every major (and not so major) OS. The GPU will be just as powerful as with a standard profile.
Back in 2012, notebookcheck.net has published a thorough review of the T430. They have also tested the machines panel and were kind enough to publish the ICC profile generated for it. Please look for the words “Download ICC File (X-Rite i1Display 2)" on their
article page.
Once downloaded, apply the ICC profile to your T430 display. The ICC profile selection menu of your OS will show a new entry that reads Monitor_20.07.2012_1_01 if you did move the .icc file to the right place.
Overall impression is much nicer and friendlier now. Natural & vivid colors. It is worth it. Watch a video and compare.
1.4.2023It was in the mid 1990s when my godfather introduced me to his passion of music reproduction, praising the great speakers by the small label of
Orbid Sound from
Odenwald area, Germany. Amazed at how good music can sound (even if compressed in
ATRAC codec using Sony
Minidisc further on), I was now a Hifi enthusiast as well.
When I was 14, I was lucky enough of being able to afford a small
technics SC HD-310 stereo investing all of my confirmation money. I did use it as my main (and only :-)) system 10+ years from that.
It must have been around the early 2010s when I first got to know about
Class D Amplifiers. As of writing this, it is 2023 I am still into that.
Main System and Signal Path
Aiyima does a pretty good job at designing and manufacturing Class D Amps, I would say. For their
A07 model in conjunction with a capable low-ripple psu, I have sold my
NAD C326-BEE. Further signal chain consists of an RPi 3B+ and a
Hifiberry Digi+ Pro Hat, both fed by an
ifi iPower, followed by a
Fosi DAC-Q5 into an
FX-Audio Tube-01 Tube Buffer with
General Electric JAN 5654W new old stock tubes, powered by an
ifi iPower X.
While using AirPlay 2 and also listening to
Radio Swiss Jazz aacPlus stream on a regular basis, main audio source is Tidal Hifi Plus using
HifiberryOS and the
Tidal Connect Docker by TonyTromp. Speakers are a pair of
Mission 700 from the 1980s.
New Amp Combines it All
Some people might consider this signal chain to be extensive. It does sound good enough. The folks at Aiyima apparently found this signal path to be worthwile as well and
took a few steps to combine this way of sound processing into one single device: The
Aiyima T9 Pro. It excels. I run it via its USB interface and have another RPi 3B+ hooked to it. Hagen was kind enough to point out
how to use HifiberryOS with USB audio devices.
Even the great TIDAL Connect Docker works, even in Hi-Res Mode as the T9 Pro indicates 96khz input, where available.
In my sleeping room, the T9 Pro drives a pair of
turquoise DUAL MN 8010 speakers from the 1990s. They originate from german hypermarket chain Karstadt efforts of stepping into the upper hifi segment.
The T9 Pro also features Toslink, Coax, Cinch RCA und Bluetooth aptX inputs by the way. In size, it is approximately only a stack of 10 slim cd jewel cases. And its speaker terminals are fairly small. 1,5 mm² is possible. Otherwise use small banana jacks.
As a side note, if you consider buying the amp, make sure to get the T9 Pro model.
I do recommend it to everybody. Thanks Aiyima, we are not affiliated but I am convinced by the performance of this precious Amp. Bang for the Buck. Now we are talking!
Update: tubes rolled for GE JAN 5654W
Replacing the stock 5725 tubes with
GE JAN 5654W gives additional warmth, softer vocals and more powerful bass punch. Tube rolling and New Old Stock are great newly coined terms, too. The process is as easy as 1,2,3, they just sit in a circular 7-pin socket. Try it!
14.12.2020The HP 17-BS XXXXX series is a widespread budget notebook line, it is somewhat affordable and has mediocre specs one can work with for every-day tasks, whatever that means.
Its build quality is on the lower edge with lotsa relatively thin plastic involved, but
here is a video on how to carefully open the device without breaking it. Thanks, Christian. Cool dialect btw :)
Turns out it is relatively easy to swap the wifi card. This notebook sports only 1 antenna. The stock
RTL8723BE performs absurdly poor with its 1x1 2.4 ghz stream. Better buy an
RTL8821CE 802.11AC 1X1 Wi-Fi + BT 4.2 Combo on ebay or anywhere else for 6€, it is compatible and it is not
block-listed
efi-wise and delivers beyond stellar in comparison, given there is an 802.11ac access point around.
4.11.2020With all the recent corona changes, we are in need of a home printer. Of course, b/w laser is the way to go,
cheap inkjet printers are a
scam and tend to break right after the warranty period. So I decided to buy a 4-in-1 Brother MFP, the
MFC-7360N. It can print, scan, copy and fax and I got it from eBay kleinanzeigen for 20.- € with an empty toner cartridge.
I am really happy with this machine and can recommend it to anyone, 3rd party toners are very affordable (around 12.- €) and last for thousands of pages.
I also like to print scanned developed analog b/w photos with it as they look like photocopies, but that is a matter of taste I guess.
So the machine works well and performs great, and there is an
iOS app for it which allows you to scan to your phone. You can also print with this app but I was looking for
AirPrint support to integrate directly with iOS devices on the same network. The printer does not feature this relatively new protocol but if you have a linux machine on the network, maybe a raspberry pi,
install CUPS properly and use the brlaser v4 ppd with it by Peter De Wachter, thanks! Presto, there’s your AirPrint, works like a charm.
Another reason I recommend Brother is that there is an undocumented “toner empty”-reset command which will just let you print along until the toner is physically used up:
1. Schalten Sie Ihr Brother MFC Gerät an
2. Öffnen Sie die Frontklappe -lassen Sie den Toner im Drucker
3. Drücken Sie die Taste STORNO 1x -nur einmal
4. Es erscheint die Anzeige "Trommel ersetzen?" 1. JA 2. NEIN -hier nichts auswählen, weiter mit
5. Drücken Sie die STERN-Taste *
6. Drücken Sie die Taste 0 zweimal nacheinander
7. Schließen Sie die Frontklappe
8. fertig
found in a
german video review by VideoP, thanks.
So it turns out that the toner cartridge I got with the printer is far from empty and the Brother continues to print just fine :)