Printing Analog Photos on a Brother MFC-7360N
18.4.2026I trained as a digital printer in Berlin back in 2005. Prepress, color management, the whole thing. Good prints, good vibes.
The Goal
Get the best possible black-and-white photo quality out of a monochrome laser printer using standard office paper and generic toner.
The Source
The photographs come from jasmund.org, my ongoing project analog photography project. Everything is shot on 35mm film and scanned. With 16-bit grayscale TIFFs, depth carries a lot of tonal information, which makes it both a great starting point and a bit of a challenge when the output device is binary, just black dots on white paper.
The Printer
The Brother MFC-7360N is a mono laser MFP released in 2010. It prints, scans, copies and faxes and is 16 years old as the time of writing. I picked mine up barely used on Kleinanzeigen in 2020 for € 20.– and I’ve been running it on generic toner (around € 12.– a cartridge, lasts for thousands of pages) since day one. It just keeps going, this is why Brother Lasers are my favourite.
The whole CUPS AirPrint setup is covered in this post from 2020: AirPrint setup for a Brother MFC-7360N.
The Hardware Resolution
The MFC-7360N prints at up to 2400x600 dpi, that is asymmetric by design: 2400 dots in the horizontal direction from the laser, 600 dots per inch (2.54 cm) vertically from the stepper motor. The native dot shape is roughly four times wider than it is tall. Tiny straight hairlines ☰≡三 parallel to the long paper edge. A full A4 page at this resolution is 19840×7016 pixels.
Brother’s own halftoning engine (BRHalfTonePattern=Brother4) is tuned for this geometry. It handles midtones well and is a reasonable standard setting. But there is so much more you can get out of the hardware with a bit of pristine prepress preprocessing :-) what.
Dot Gain
Laser toner spreads slightly further than desired during the fusing process. On regular office paper this is particularly noticeable: midtones shift towards shadows, prints come out too dark and lose shadow detail. This dot gain effect increases the smaller the print dots are.
Dealing with dot gain in the image preprocessing — before the file ever reaches the printer driver — is most of what the following script is doing.
The ImageMagick Pipeline
After a plethora of test prints across different approaches, this is what I like best:
show script
magick "$file" \
  -colorspace Gray \
  -depth 16 \
  -auto-orient \
  -compress None \
  -rotate "%[fx:w>h?90:0]" \
  -resize 4961x7016^ \
  -gravity Center \
  -extent 4961x7016 \
  -gamma 1.65 \
  -level 10%,95% \
  -sigmoidal-contrast 3x55% \
  -resize 19840x7016! \
  -unsharp 0x1.0+0.45+0.02 \
  -density 2400x600 -units PixelsPerInch \
  pdf:- | \
lp -d Brother_MFC_7360N \
  -o media=A4 \
  -o BRResolution=2400x600dpi \
  -o BRMediaType=Thick \
  -o BRInputSlot=Tray1 \
  -o print-quality=5 \
  -o BRHalfTonePattern=Brother4 \
  -o BRImproveOutput=BRFixIntensity \
  -o BRReduceGhost=ON \
  -o TonerSaveMode=OFF \
  -o fit-to-page=false
magick "$file" \
-colorspace Gray \
-depth 16 \
-auto-orient \
-compress None \
-rotate "%[fx:w>h?90:0]" \
-resize 4961x7016^ \
-gravity Center \
-extent 4961x7016 \
-gamma 1.65 \
-level 10%,95% \
-sigmoidal-contrast 3x55% \
-resize 19840x7016! \
-unsharp 0x1.0+0.45+0.02 \
-density 2400x600 -units PixelsPerInch \
pdf:- | \
lp -d Brother_MFC_7360N \
-o media=A4 \
-o BRResolution=2400x600dpi \
-o BRMediaType=Thick \
-o BRInputSlot=Tray1 \
-o print-quality=5 \
-o BRHalfTonePattern=Brother4 \
-o BRImproveOutput=BRFixIntensity \
-o BRReduceGhost=ON \
-o TonerSaveMode=OFF \
-o fit-to-page=falseHere is what each step does:
-colorspace Gray -depth 16 — convert to grayscale immediately and stay in 16-bit. Rounding errors in 8-bit would be visible in smooth gradients.
-auto-orient — respects the EXIF rotation tag.
-rotate "%[fx:w>h?90:0]" — if the image is landscape, rotate it 90° so it fills an A4 sheet in portrait orientation. My goal is always maximum paper coverage, filling from the centre of the image.
-resize 4961x7016^ -gravity Center -extent 4961x7016 — scale to fill A4 at 600 dpi (the vertical resolution) without distortion, then crop to exact page dimensions from the centre. The ^ flag means fill, not fit so there’s no empty space beside the print borders.
-gamma 1.65 — raises midtones to compensate for dot gain. Without this, toner spread pulls printed midtones noticeably into shadows. 1.65 is where it landed after a lot of comparison prints on 80g office paper.
-level 10%,95% — this clips the deepest shadows and the brightest highlights because the darkest tones will block up on this printer. Remapping them to a slightly lighter input value recovers some separation. The highlight clip keeps areas that should be white for subjective presence of the printed photo.
-sigmoidal-contrast 3x55% — this is advanced, an S-curve centred at 55% brightness with a strength of 3. This adds presence and micro-contrast to midtones (without clipping). It makes a real difference to how photographs feel on paper and makes the difference between flat and present.
-resize 19840x7016! — stretches the image 4x horizontally to match the native 2400×600 pixel buffer. The ! forces the exact target dimensions without preserving aspect ratio, as the image is already sized for 600 dpi vertically and it now needs to reach 2400 dpi horizontally. The printer receives a square-pixel image at the right density for the physical disproportional output.
-unsharp 0x1.0+0.45+0.02 — a gentle unsharp mask applied after the 4x horizontal stretch. The stretch introduces slight softness. This brings back edge definition.
-density 2400x600 -units PixelsPerInch — embeds the resolution metadata in the PDF stream so the driver knows not to resample.
On the lp side: BRHalfTonePattern=Brother4 is Brother’s own clustered-dot screen, which at this resolution produces stable halftone cells with good tonal coverage. BRReduceGhost=ON runs a drum cleaning sequence. TonerSaveMode=OFF is for full toner density.
The Script
The full script processes a directory of TIFFs in a loop. It rotates and fills the page for each image, and queues them to the printer with a two-second pause between jobs so the printer’s 32MB memory buffer does not conk out. mad maxamom. save as mfprince-amen.sh.
show script
#!/bin/zsh
DIR="${1:-.}"
if [ ! -d "$DIR" ]; then
echo "Error: directory '$DIR' does not exist."
exit 1
fi
echo "Searching for TIFF files in '$DIR'..."
count=0
for file in "$DIR"/*.[tT][iI][fF]*; do
[ -e "$file" ] || continue
filename=$(basename "$file")
echo "Processing and printing: $filename"
magick "$file" \
  -colorspace Gray \
  -depth 16 \
  -auto-orient \
  -compress None \
  -rotate "%[fx:w>h?90:0]" \
  -resize 4961x7016^ \
  -gravity Center \
  -extent 4961x7016 \
  -gamma 1.65 \
  -level 10%,95% \
  -sigmoidal-contrast 3x55% \
  -resize 19840x7016! \
  -unsharp 0x1.0+0.45+0.02 \
  -density 2400x600 -units PixelsPerInch \
  pdf:- | \
lp -d Brother_MFC_7360N \
  -o media=A4 \
  -o BRResolution=2400x600dpi \
  -o BRMediaType=Thick \
  -o BRInputSlot=Tray1 \
  -o print-quality=5 \
  -o BRHalfTonePattern=Brother4 \
  -o BRImproveOutput=BRFixIntensity \
  -o BRReduceGhost=ON \
  -o TonerSaveMode=OFF \
  -o fit-to-page=false
sleep 2
((count++))
done
echo "Done. $count print jobs queued."#!/bin/zsh
DIR="${1:-.}"
if [ ! -d "$DIR" ]; then
echo "Error: directory '$DIR' does not exist."
exit 1
fi
echo "Searching for TIFF files in '$DIR'..."
count=0
for file in "$DIR"/*.[tT][iI][fF]*; do
[ -e "$file" ] || continue
filename=$(basename "$file")
echo "Processing and printing: $filename"
magick "$file" \
-colorspace Gray \
-depth 16 \
-auto-orient \
-compress None \
-rotate "%[fx:w>h?90:0]" \
-resize 4961x7016^ \
-gravity Center \
-extent 4961x7016 \
-gamma 1.65 \
-level 10%,95% \
-sigmoidal-contrast 3x55% \
-resize 19840x7016! \
-unsharp 0x1.0+0.45+0.02 \
-density 2400x600 -units PixelsPerInch \
pdf:- | \
lp -d Brother_MFC_7360N \
-o media=A4 \
-o BRResolution=2400x600dpi \
-o BRMediaType=Thick \
-o BRInputSlot=Tray1 \
-o print-quality=5 \
-o BRHalfTonePattern=Brother4 \
-o BRImproveOutput=BRFixIntensity \
-o BRReduceGhost=ON \
-o TonerSaveMode=OFF \
-o fit-to-page=false
sleep 2
((count++))
done
echo "Done. $count print jobs queued."Drop a folder of TIFFs in, give it time, watch the stack of prints materialise. The results hold shadow detail, render smooth gradients across the full tonal range, and reproduce fine texture — hairlines, clothing fabric, tree bark — well enough that I am genuinely happy with them.
Every print is unique, thanks to its individual imperfections. The worn drum unit causes slight ghosting, and I am happy to embrace that. The used corona wire and the printer fuser unit cause some nuances in grayscale tones and slight variations in brightness in parallel to the short edge and such, but their aesthetic appeal is something I welcome. It is so far from perfect yet so full of joy.
This machine is such a gift that keeps on givin'.
 source:
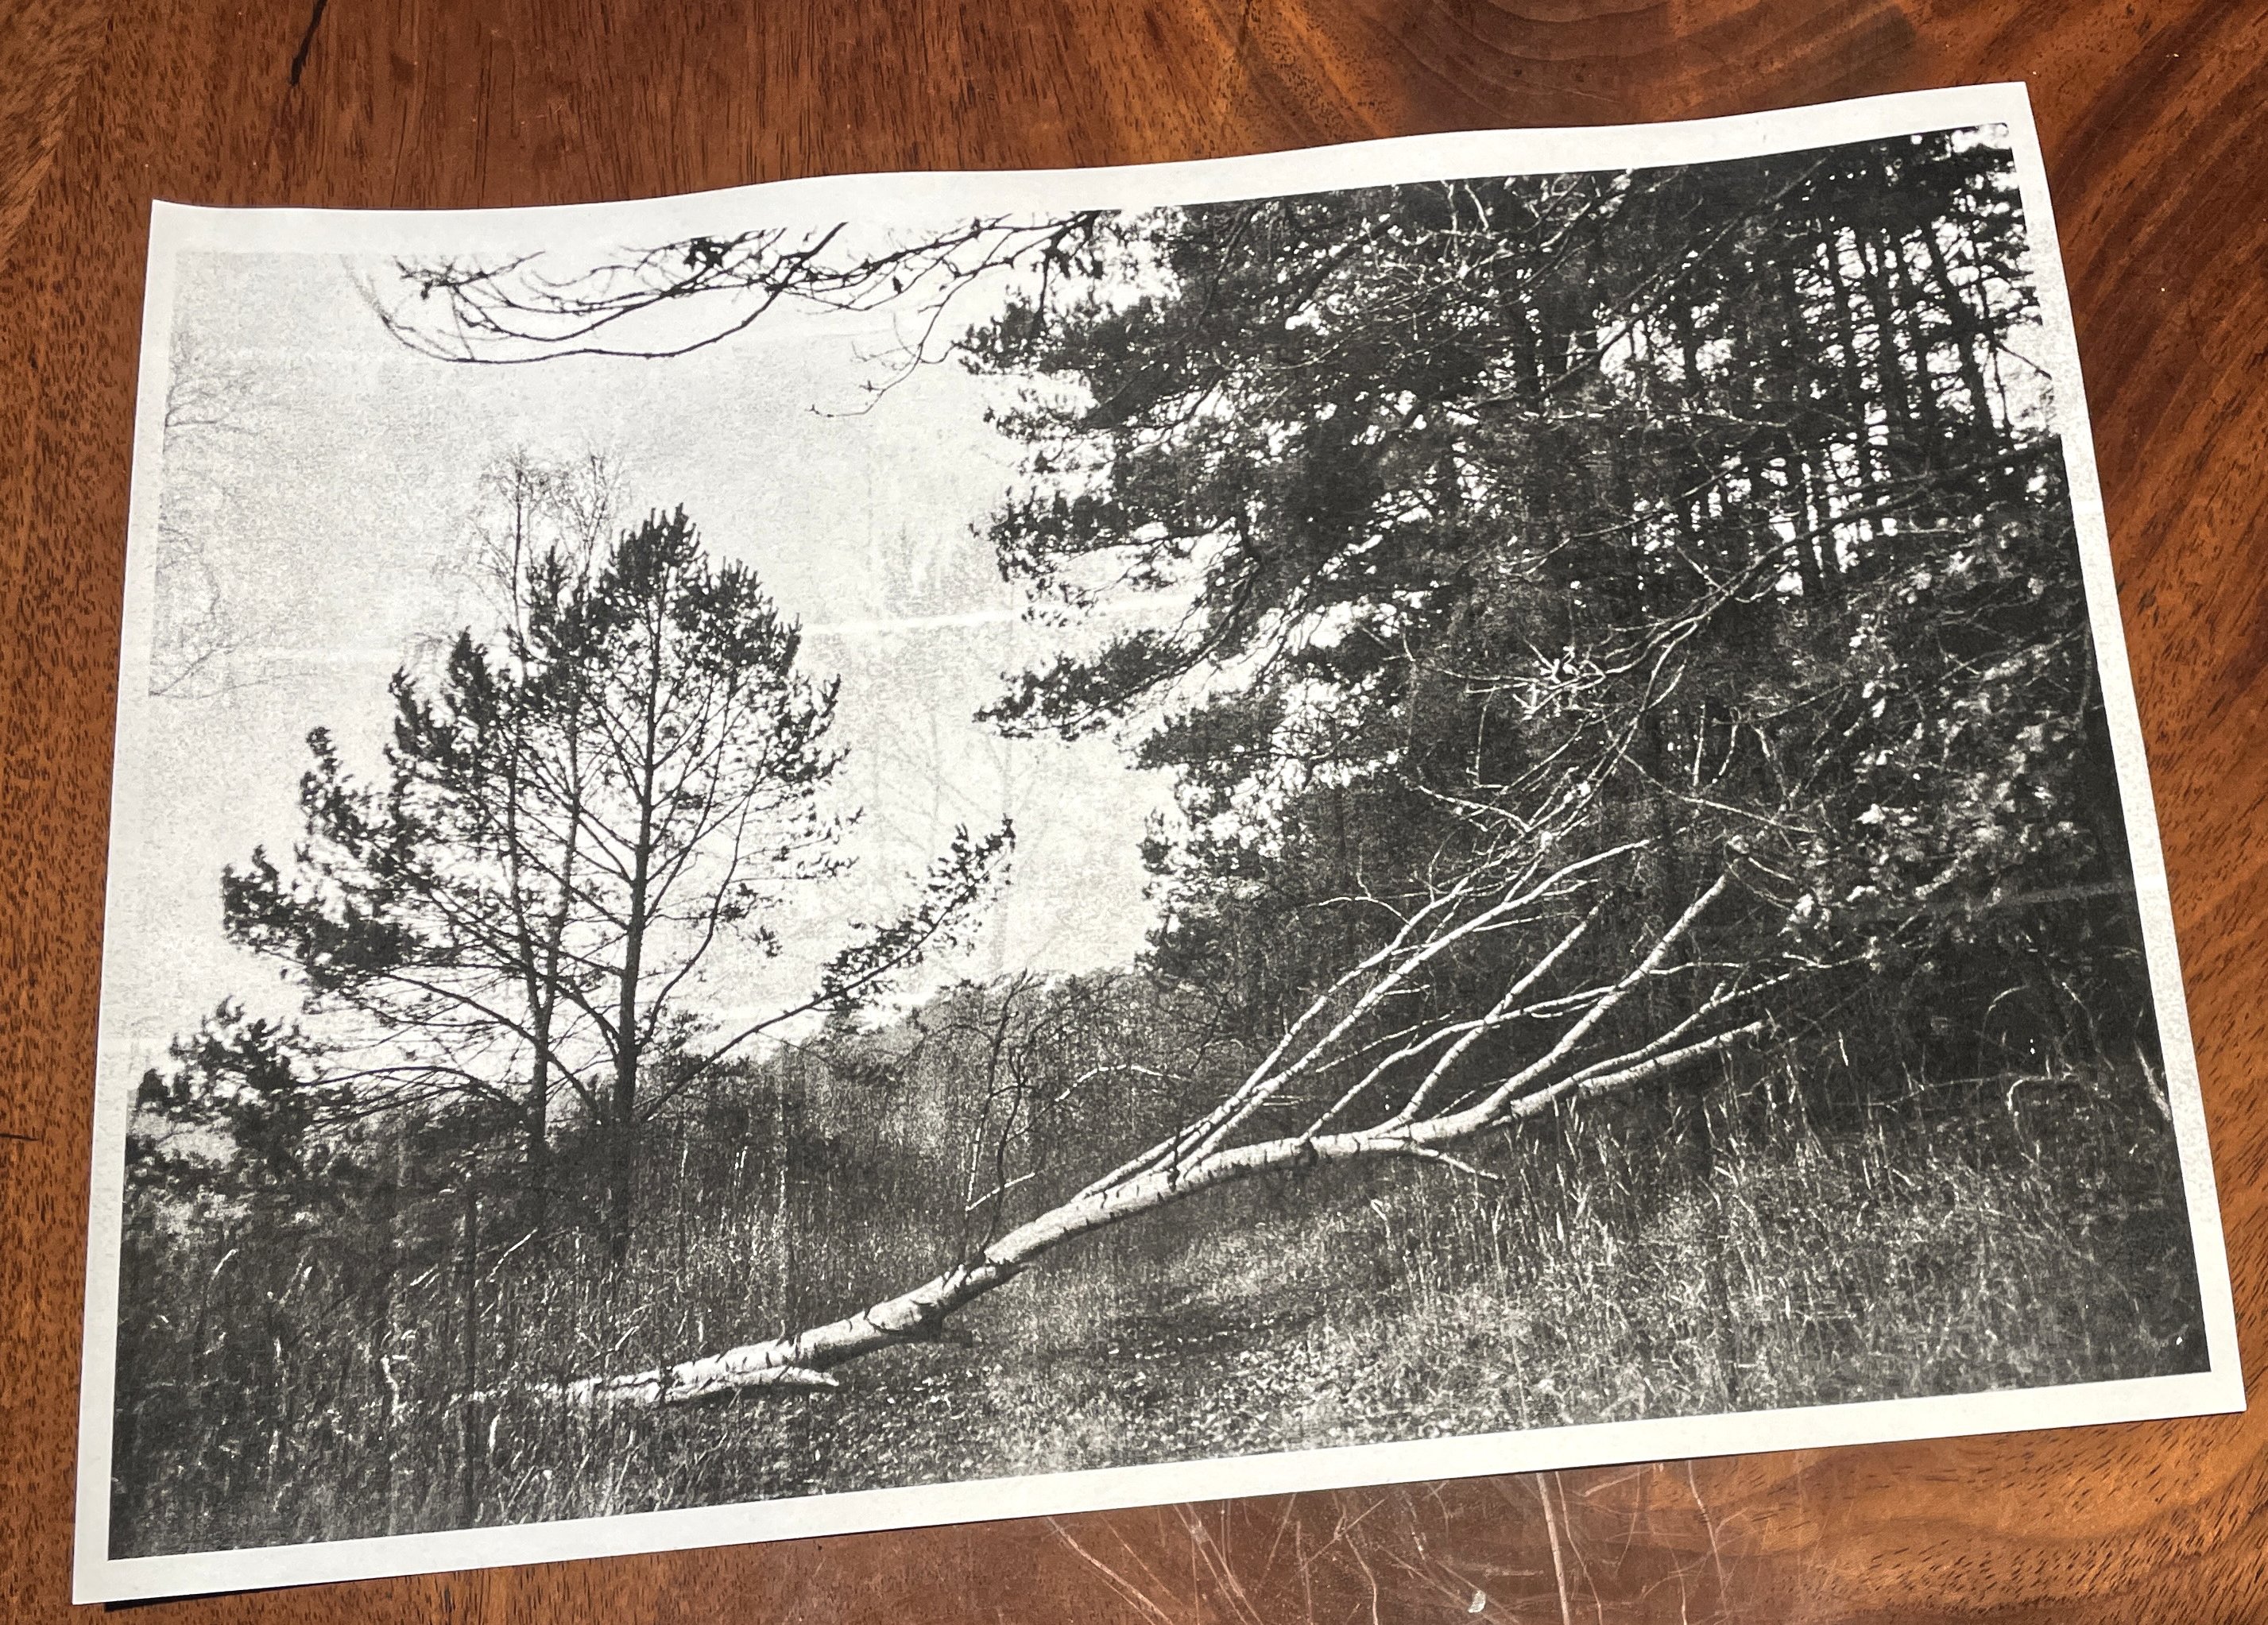
westlich von Altglobsow on jasmund.org
source:
westlich von Altglobsow on jasmund.org
Moving on, let me now print all of my photos. Just to see how they come out.