IKEA pedalboards for all sorts of guitar pedals
i originally posted this on a forum, but i felt like i should document this for anyone who's interested in building their own pedalboard on the cheap! i picked up the bass guitar about a year ago. i’m not good but i’m okay at it! i tried learning the regular guitar (so small, such thin strings!) several years ago, but it never stuck since it was pretty unfamiliar to me. it was a lot easier for me to jump from cello to bass, especially because i can read sheet music the same on both instruments with the right tuning. either way! i had a couple effects pedals, and needed somewhere to put them that wasn’t just piled in a drawer somewhere! on top of that, my wife is learning guitar, so hy needs a place for hys pedals eventually.
we did a little digging on sourcing cheap wood or briefcases or something, but we didn’t really find anything suitable at the reuse and thrift stores around us. so we took to the internet and found an Instructables article, DIY IKEA Pedal Board. i took a look at it, and roughly based something on it!
the tools i used were:
- hacksaw (any saw works)
- screwdriver
- drill
- bastard file (any file works)
- two foam brushes (you'll need more for more coats)
my materials were:
- minwax polyshades combination stain and urethane finish, black
- 2 inch wide velcro tape (name brand, heavy duty/industrial strength)
- IKEA KNAGGLIG pine box
- for one of them, i used some drawer handles we found at a reuse/reclaimed materials store
- angle brackets
- some random screw-in rubber feet from another project. you can use sticky feet, but i'd expect them to fall off if you take your pedalboard places
differences from the instructables article were pretty small. i cut the back panels out of the bottom panel of the crate, rather than the other side panel. this was so i could make two pedalboards out of the crate instead of just the one. after cutting the back panel, the cut surfaces were VERY uneven. i used the bastard file to flatten them so that they wouldnt interfere with the fit of the angle brackets. technically i have enough wood left from the narrower side panels to make one more pedalboard, a smaller one. i'm considering putting that together and giving it to a friend who's starting to learn guitar!
for the handles, i first drilled a hole the size of the screw threads from the front, so that any blowout was on the back side. then, because the screws were too short to go all the way through, i used a large drill bit with some tape around it as a very shallow depth stop, to allow the screw head to sink about halfway in. feet were easy to mount, just drill small pilot holes in the corners, screw the feet in, and then if it’s wobbly you can put a bunch of washers between the foot and the board.
ikea sanded these already, so despite what the can of minwax says, i don't think you need to sand the wood to 220 grit. i didn't! you will need some 220 grit sandpaper or 000 steel wool to use between coats if you're using multiple coats of finish, which i'd recommend if you think very high or very low humidity might be a problem in your area or where you might be playing. your pedalboard might warp a bit if the humidity changes a lot, which wouldn't affect how it works, but it would wobble until you adjust the feet.
altogether to make two boards cost about $30 in materials, and is around the same size as a $90 pedaltrain board. i plan to make padded messenger bags for these eventually! but i’m pretty satisfied with this. i’m sure it could have been cheaper if i’d been able to find wood at a recycling/reuse store, or a briefcase at a thrift store that fits things. if i were to do this again, i think i would apply a couple more coats of finish, since i only did one. the can calls for at least two coats, but i really didn’t want to wait or to smell polyurethane fumes around the apartment for that long. in the future i might print out some cable management clips to run underneath the pedalboard and help tame the spaghetti underneath. i’m really happy with how these turned out! my cat seems happy too, her tail’s even in one of the pictures.
click for pics:
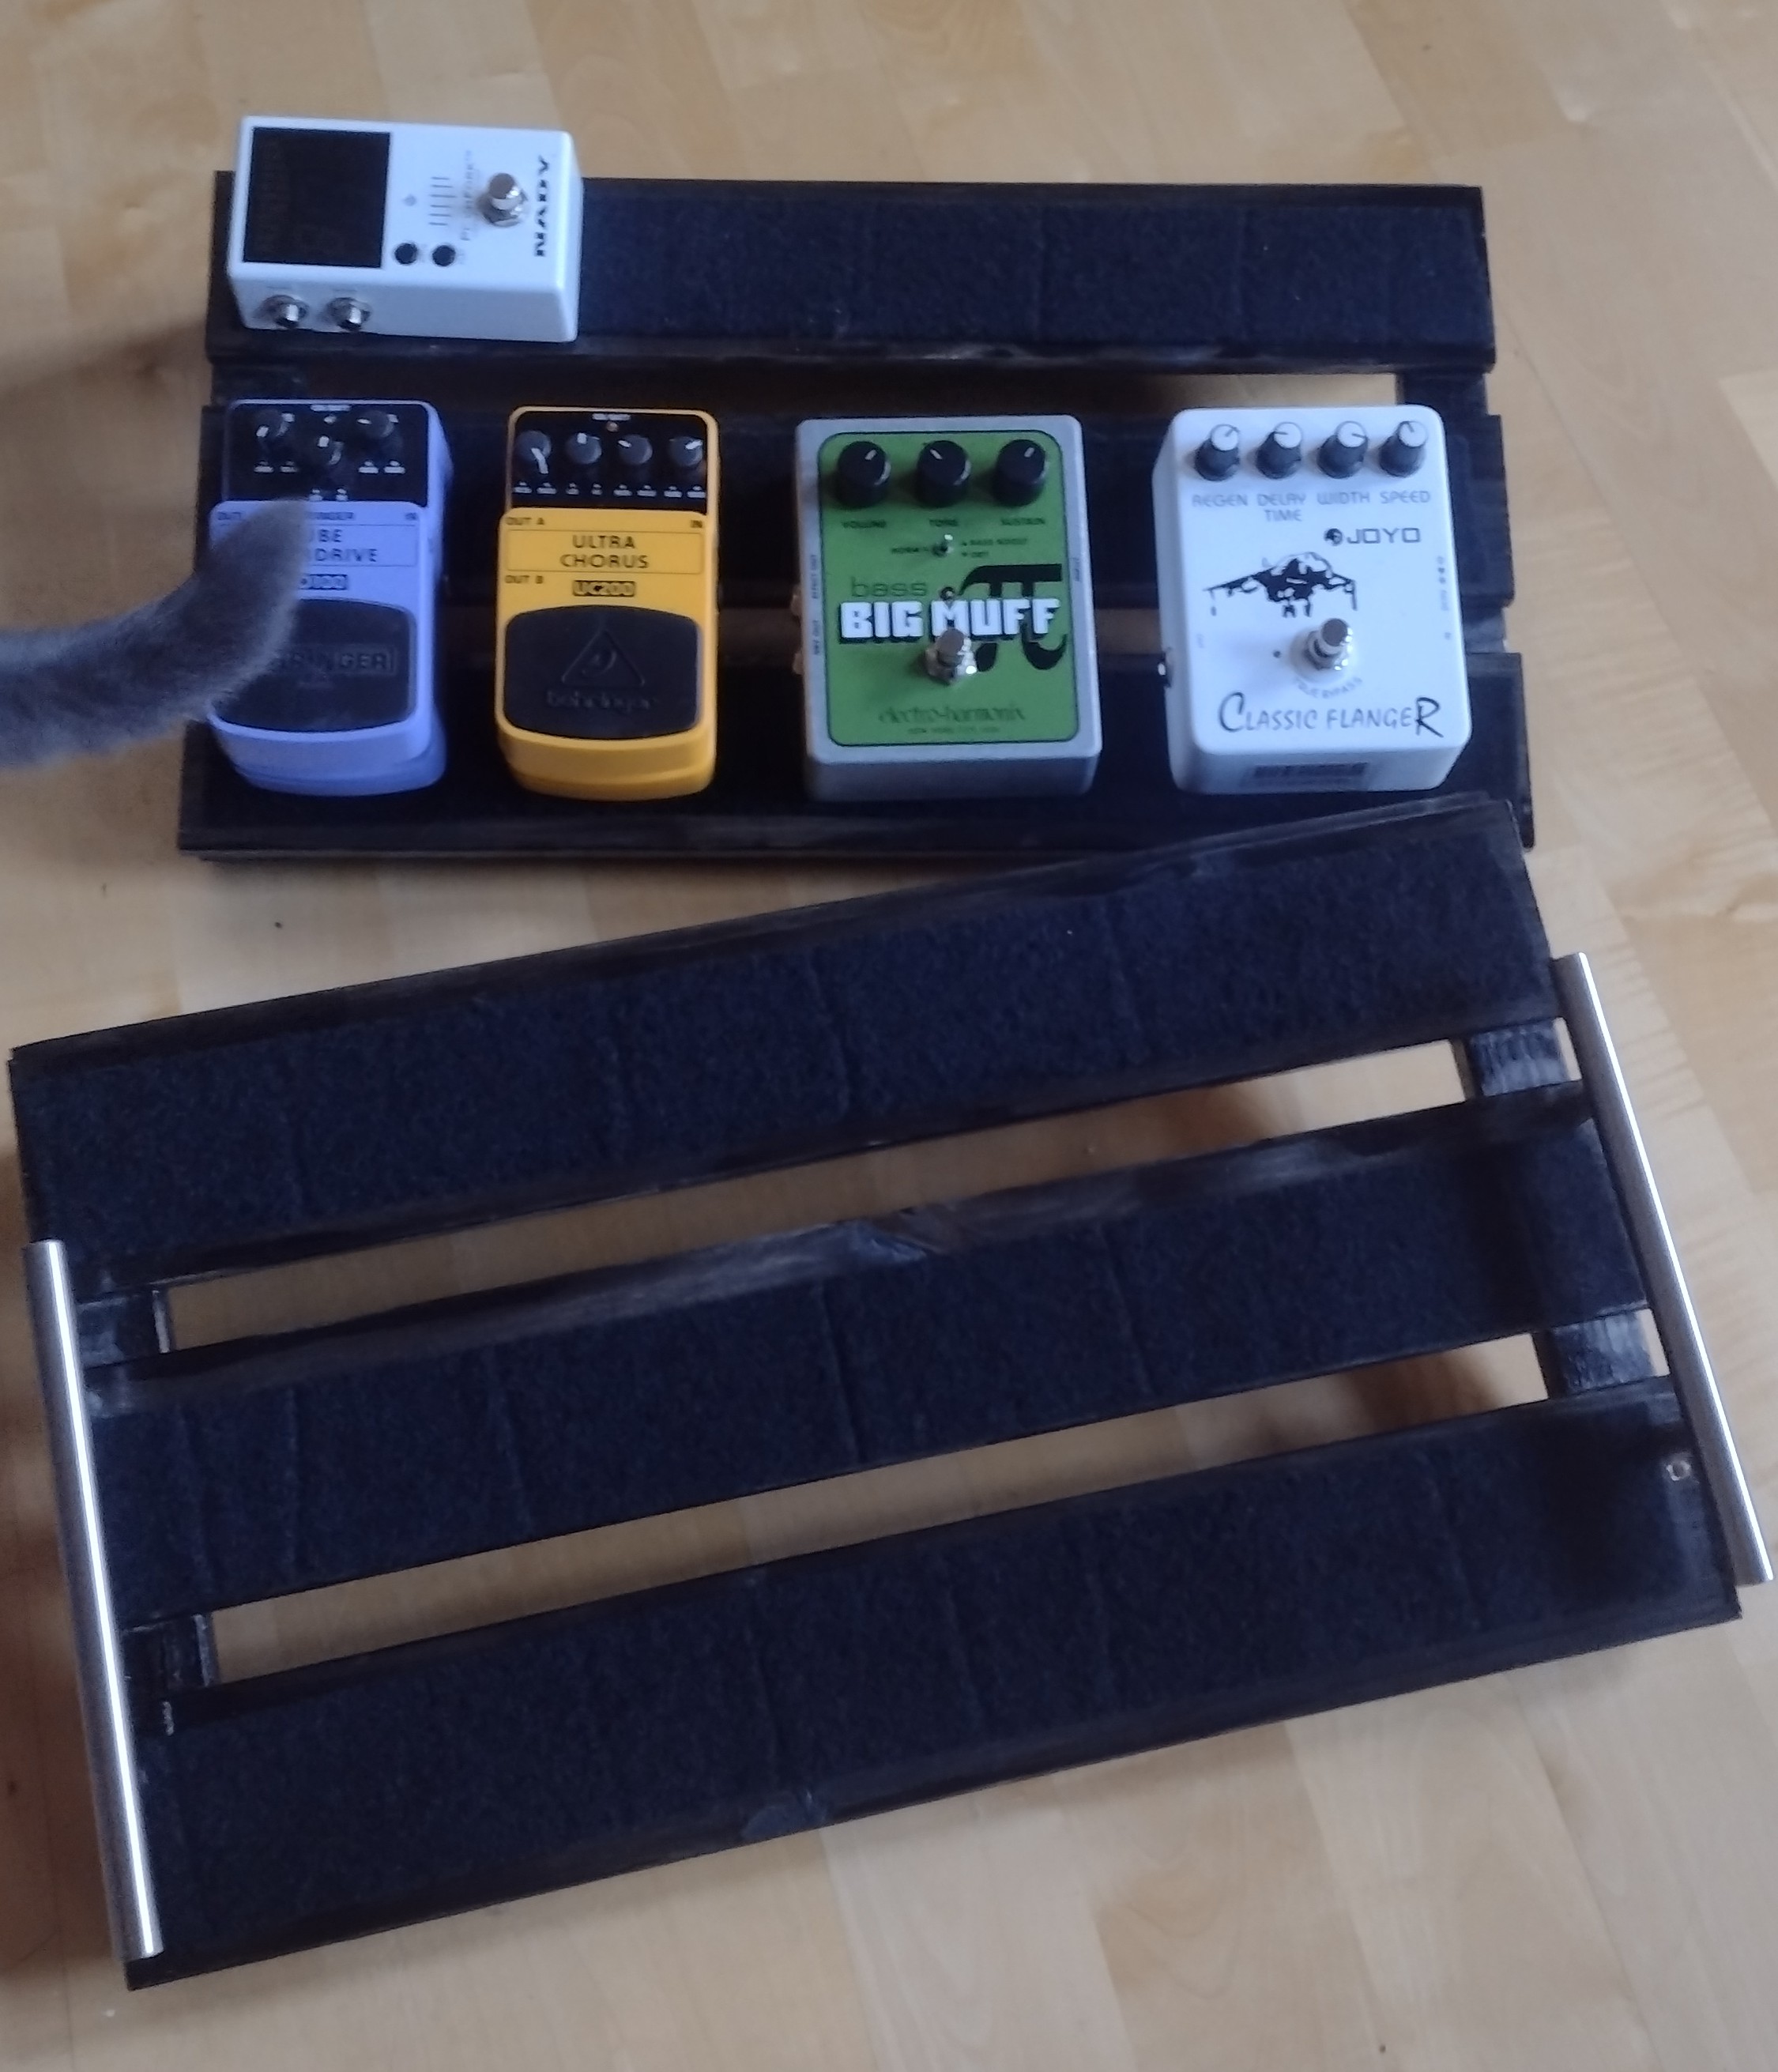
both completed pedalboards, with pedals for scale
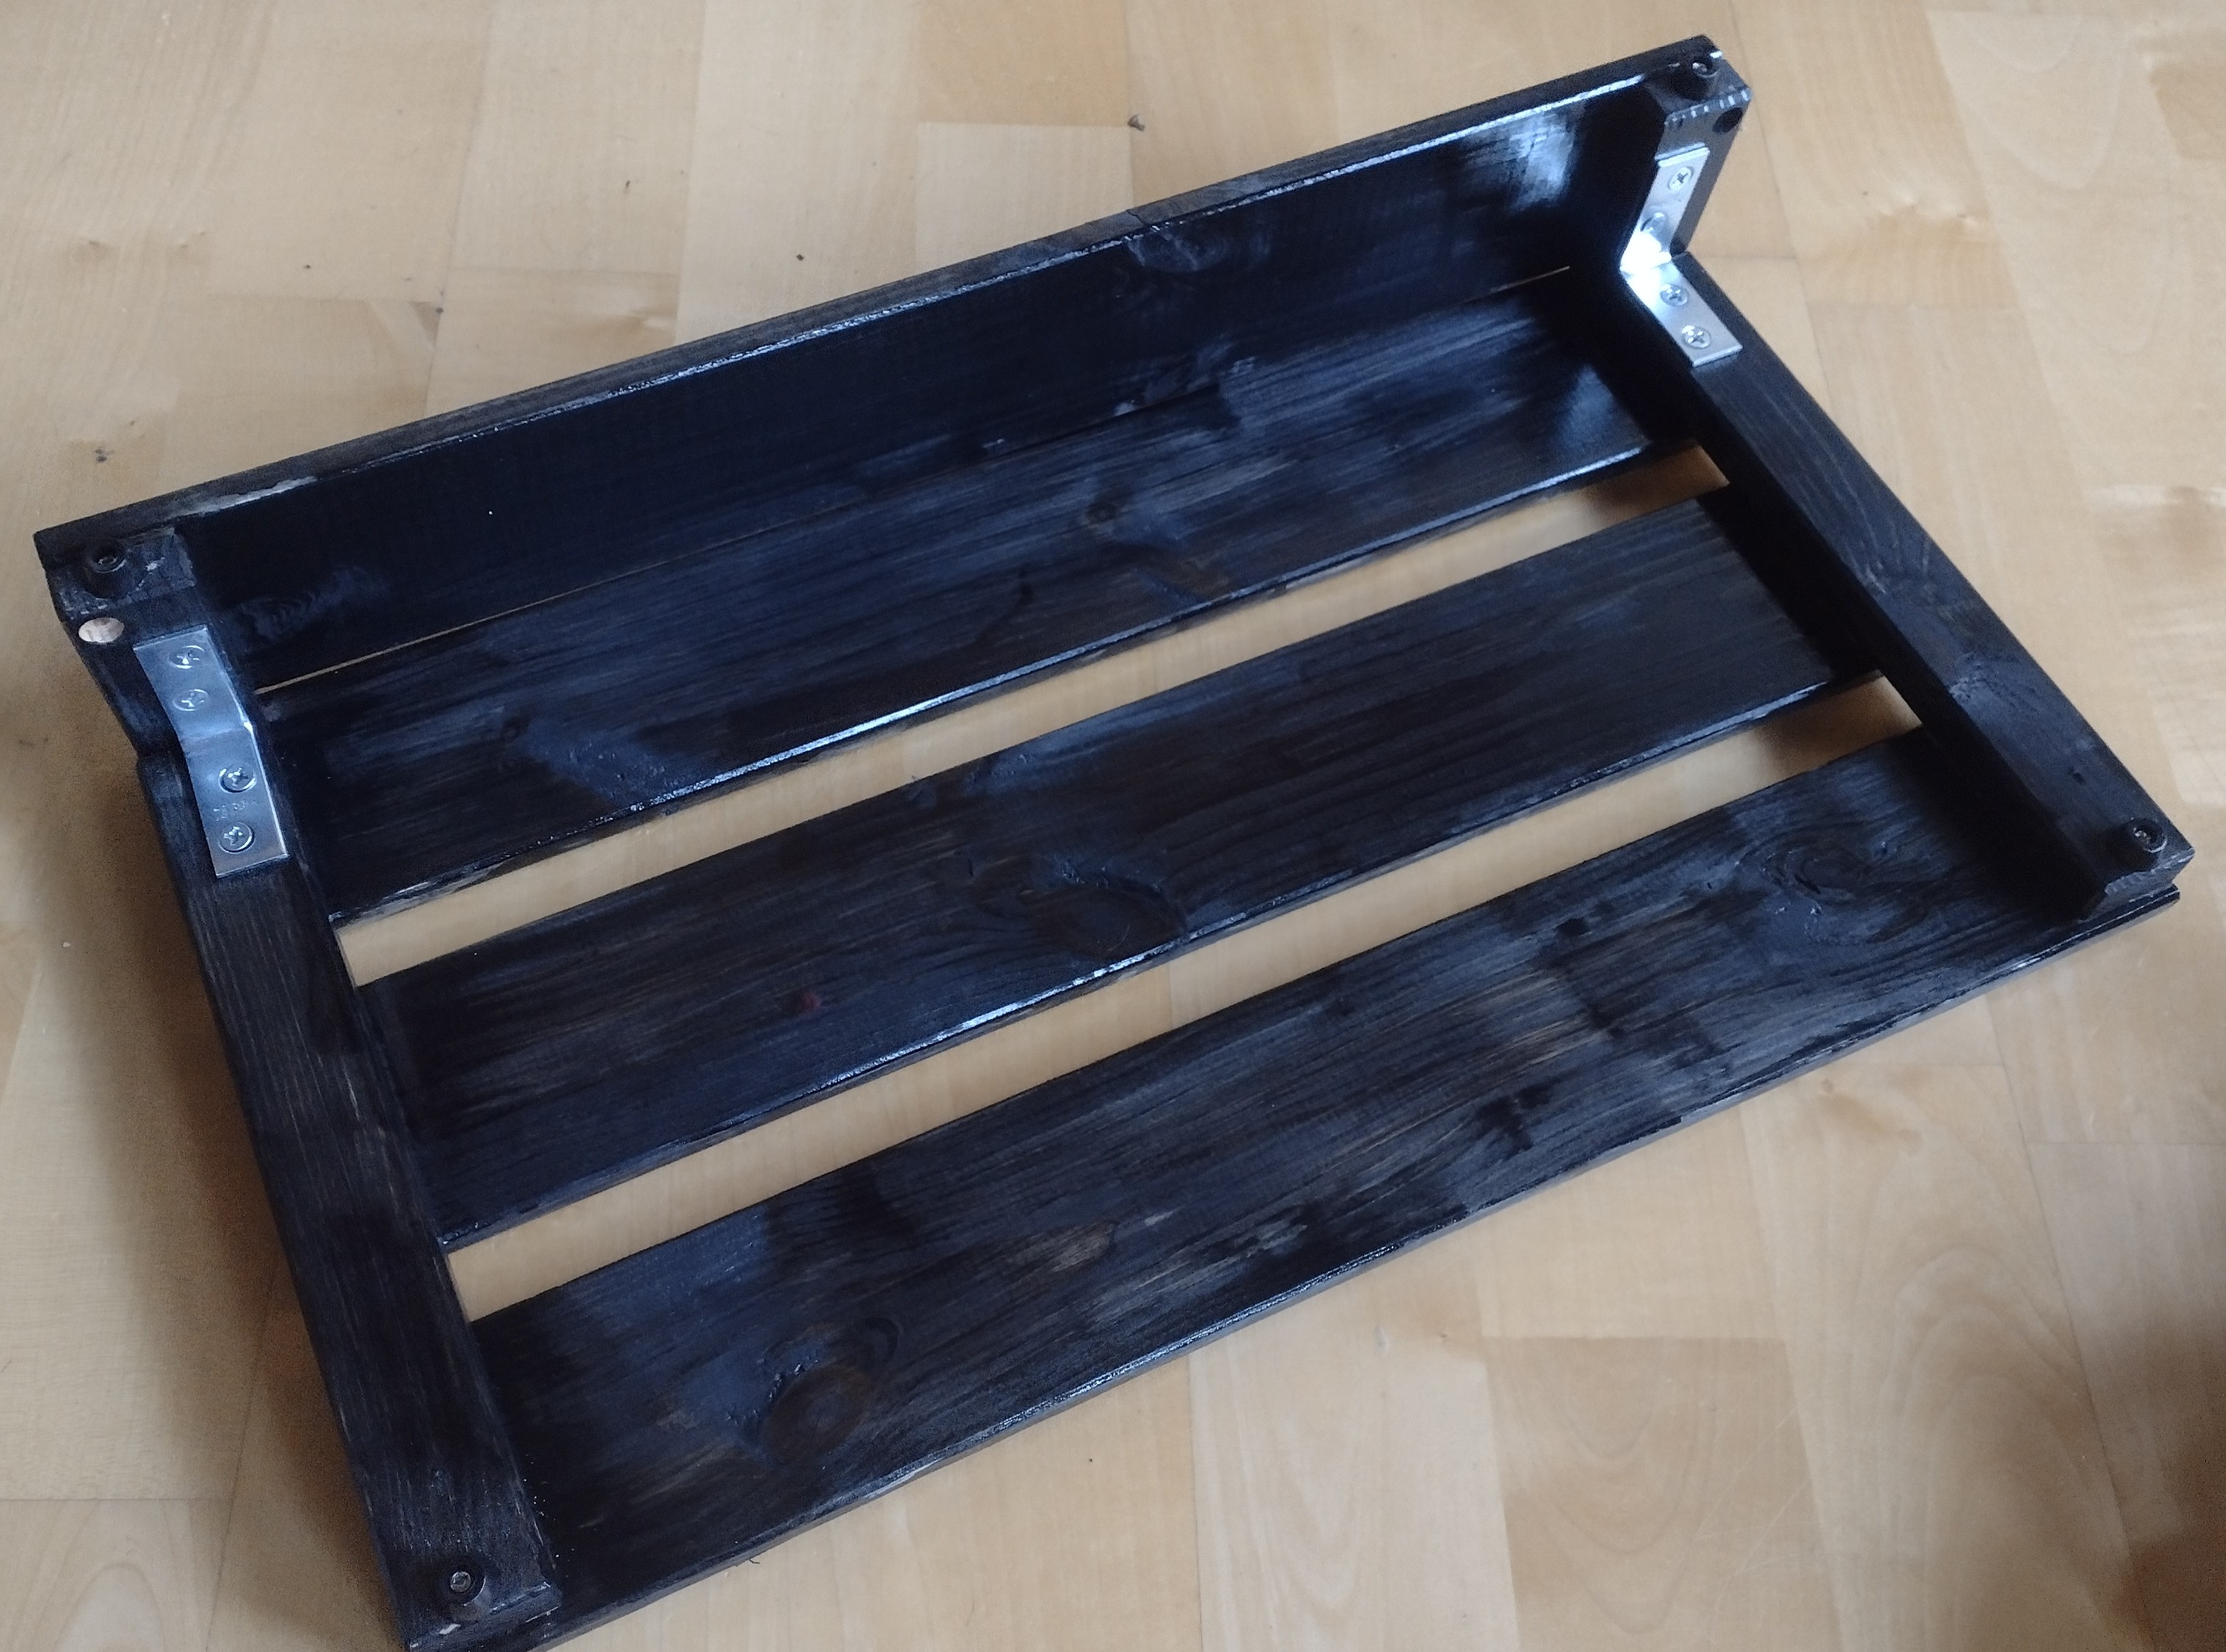
completed pedalboard, bottom view
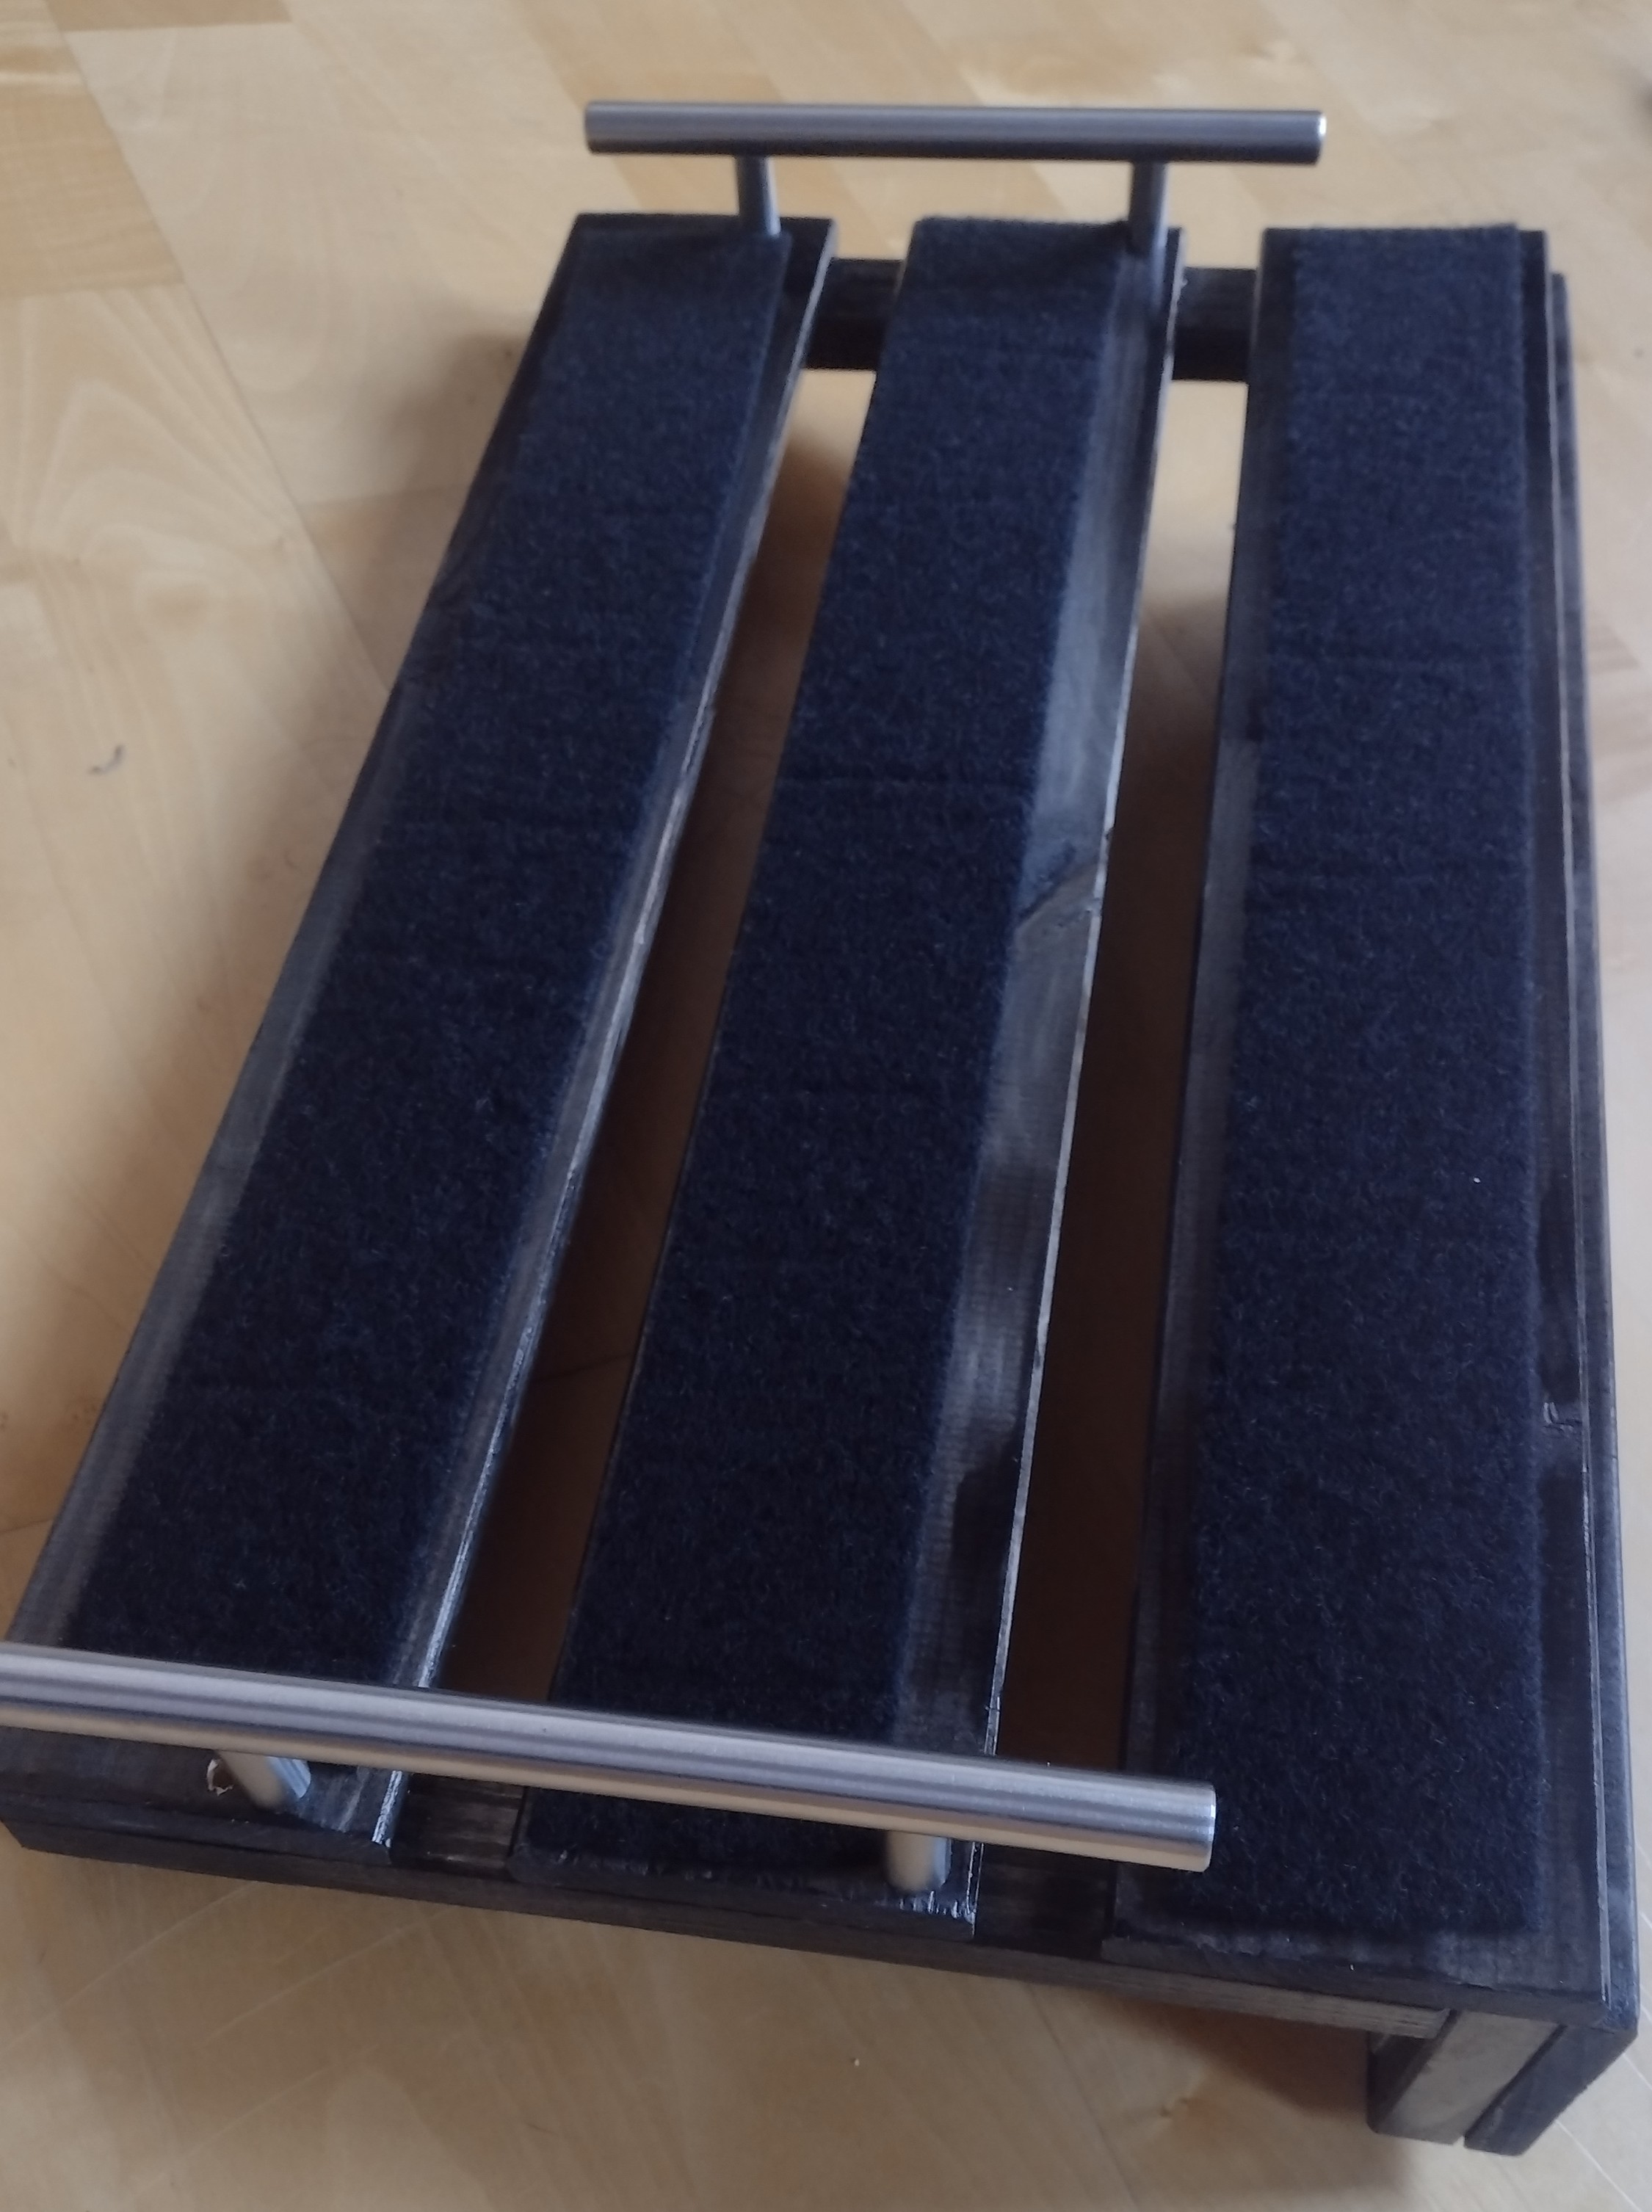
completed pedalboard with handles, side view so you can see the angle it sits at